


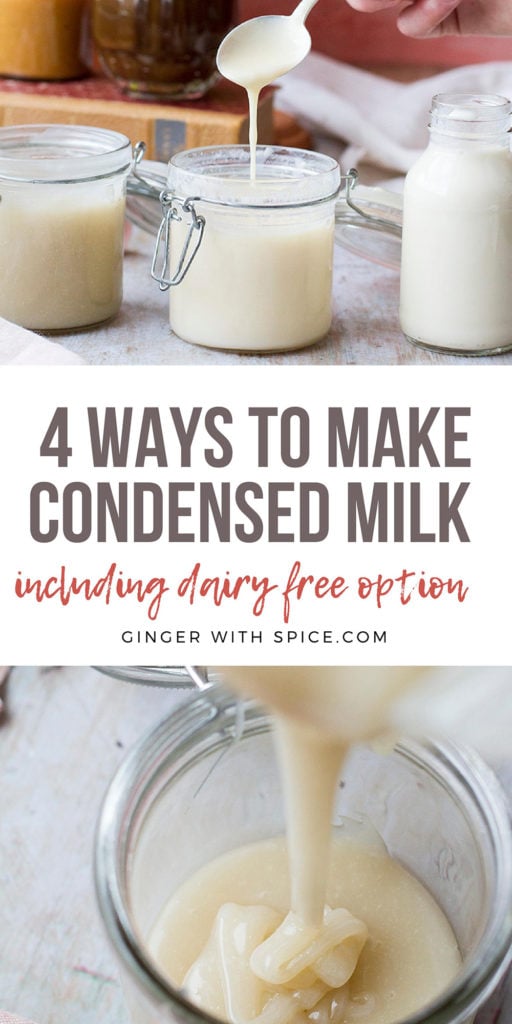
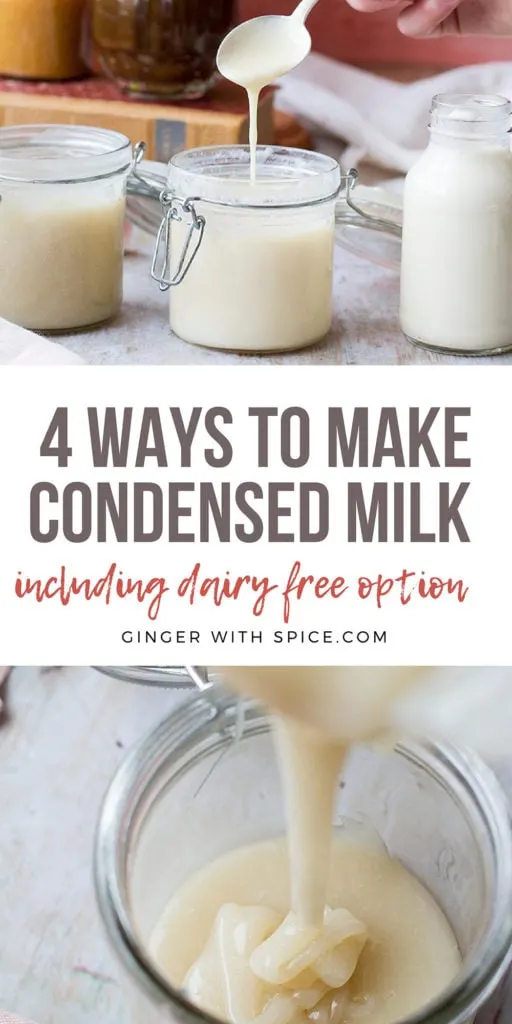

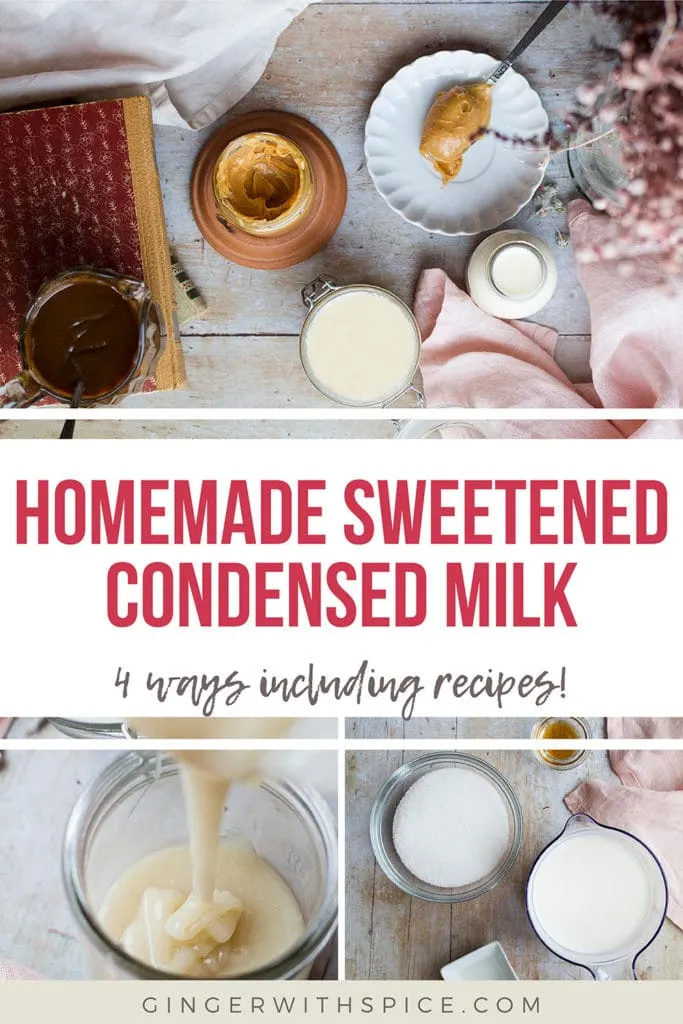
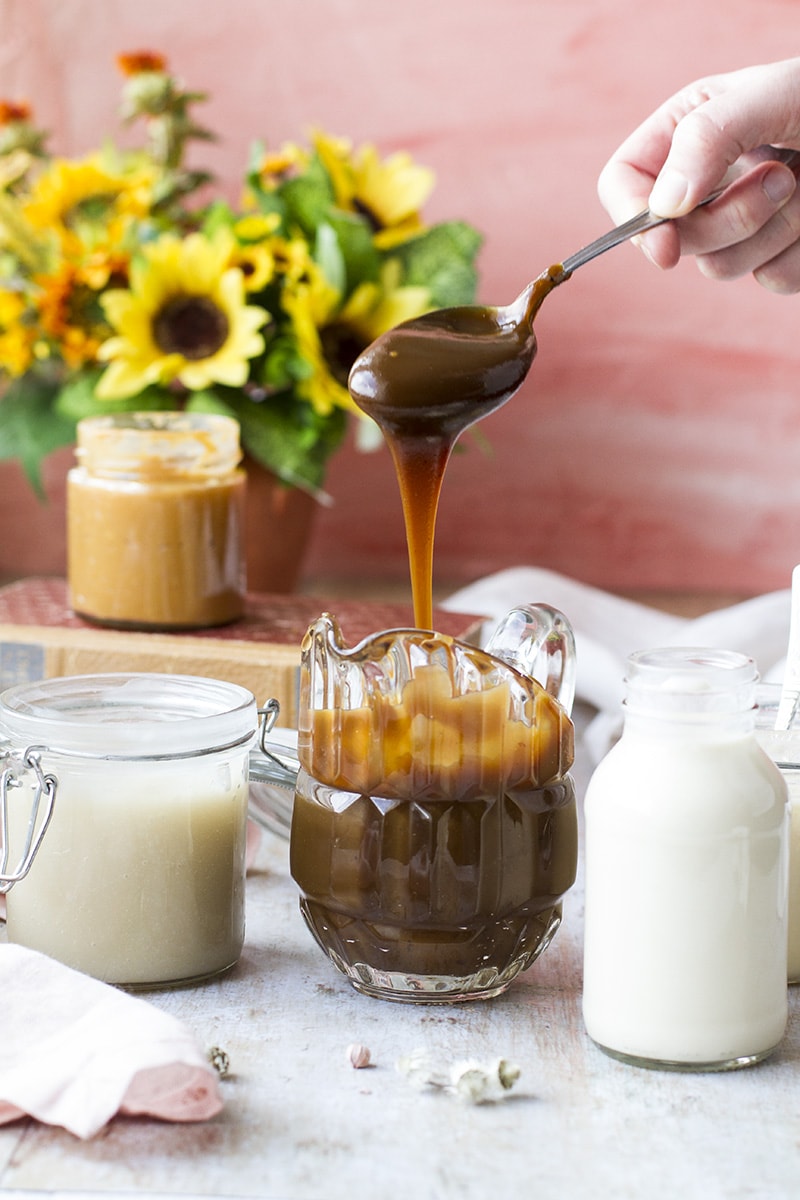
Here is all you need to know in order to make sweetened condensed milk at home. I provide you with 4 ways to make sweetened condensed milk, so now you have no excuse to get it from a can anymore. All you need is milk and sugar and a little bit of time!
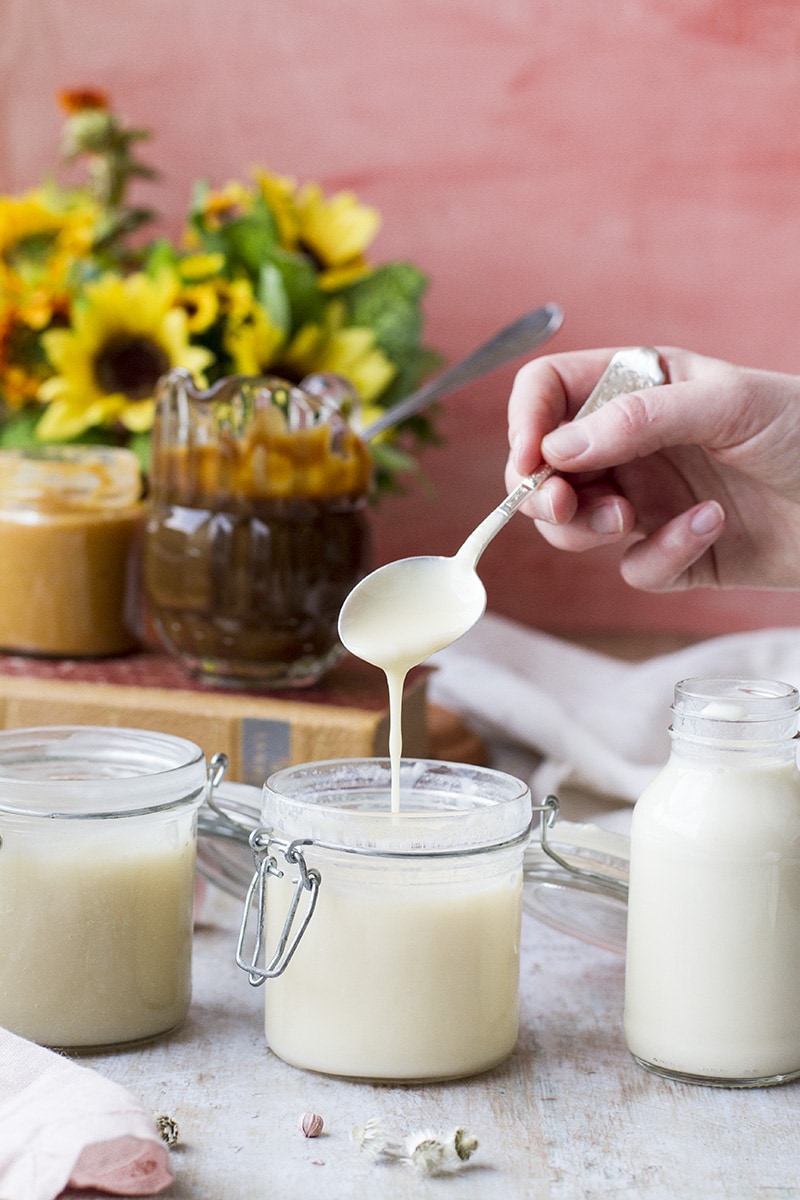

Classic sweetened condensed milk, caramelized sweetened condensed milk (also known as dulce de leche), vegan condensed coconut milk and one unsweetened condensed milk (evaporated milk). All use practically the same method with various times on the stove, so it's definitely a minimal effort and minimal clean-up kind of recipe(s).
All these recipes are designed so that you can substitute a 14 oz can with these recipes without much thinking. They should have the same quantity and the same consistency - how great is that!
What is sweetened condensed milk?
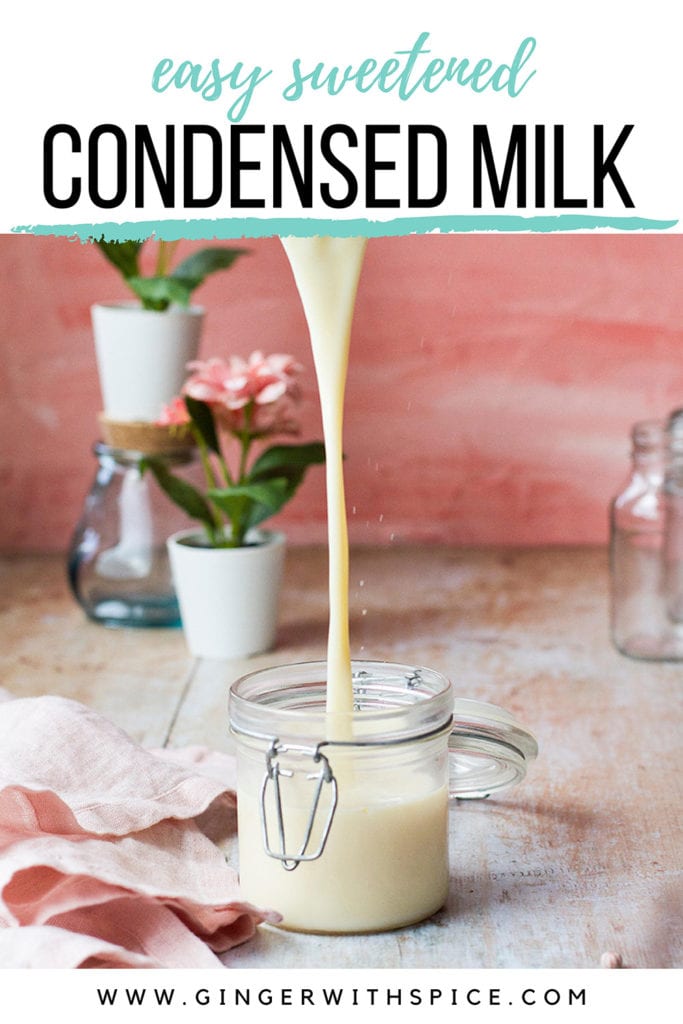
Sweetened condensed milk is just what the name suggested; sweetened - condensed - milk. So the ingredients are basically milk and sugar, cooked for a long time so the water in the milk evaporates, creating a lusciously thick and sweet milky syrup.

What's the difference between condensed and evaporated milk?
The difference is that condensed milk is sweetened with extra sugar (or other sweeteners), while evaporated milk is just sweet from the milk itself. Evaporated milk will get a slightly thinner consistency, but it is great to use instead of regular milk in tea or coffee.
Both has milk reduced to 40% of its volume (in other words, the water has reduced by 60%), but sweetened condensed milk gets thicker because of the sugar.
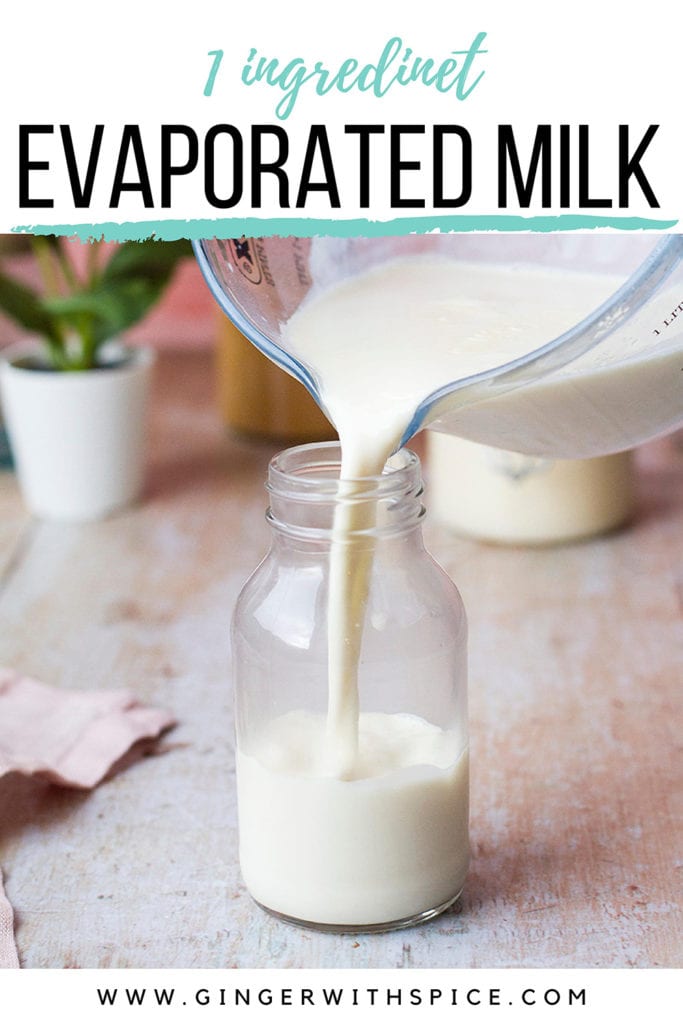
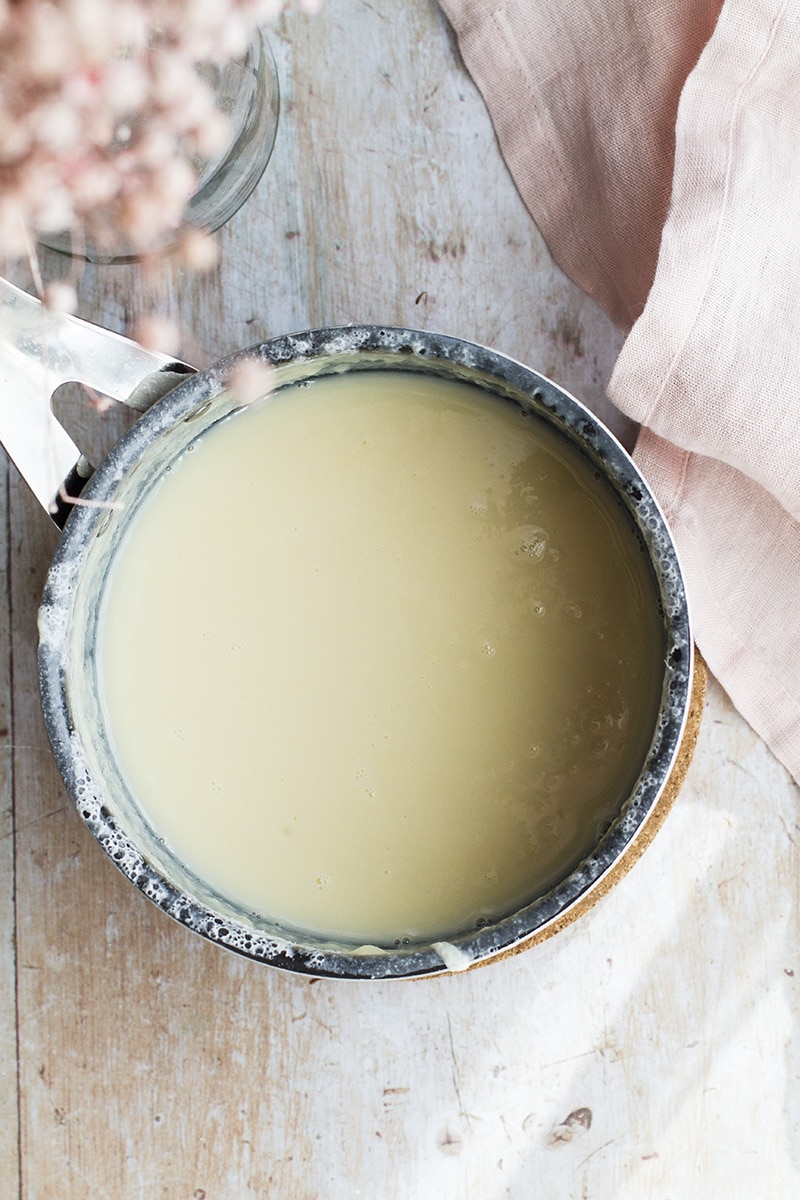
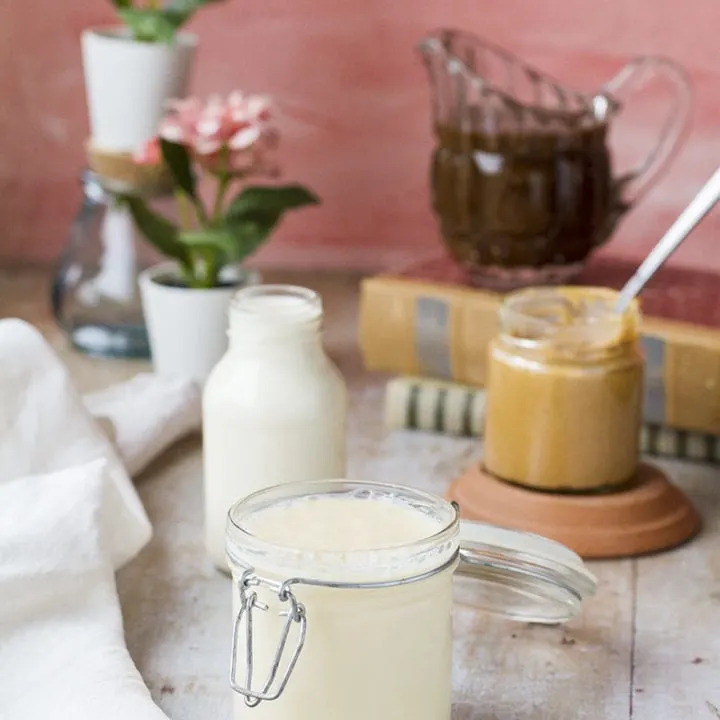
And as a fun fact; in Norway we call evaporated milk simply for unsweetened condensed milk, and that is why I also provide you with a recipe for this in the same post. It's so, so easy!


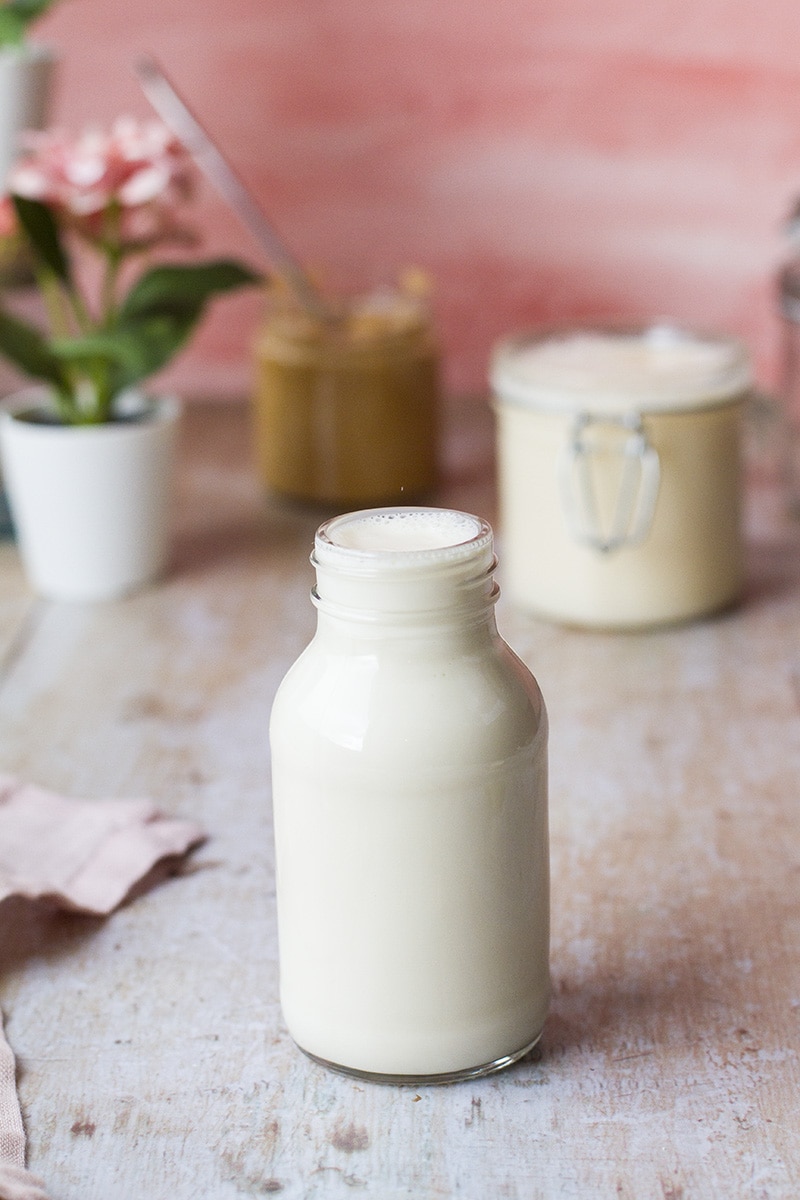
This is evaporated milk.
If it curdles/separates
The hardest part of making sweetened condensed milk is finding the right temperature in which to simmer your milk mixture. Sometimes if you get a little too impatient (yes, me too!), the milk can curdle and it can look quite unappetizing.
The good news is that it is ridiculously easy to fix it. Just pour it into your blender and voilà! Note that you may need to cool the mixture a bit before adding it to your blender if it can't handle the heat.
If you feel it is too much, you can also run it through a sieve.

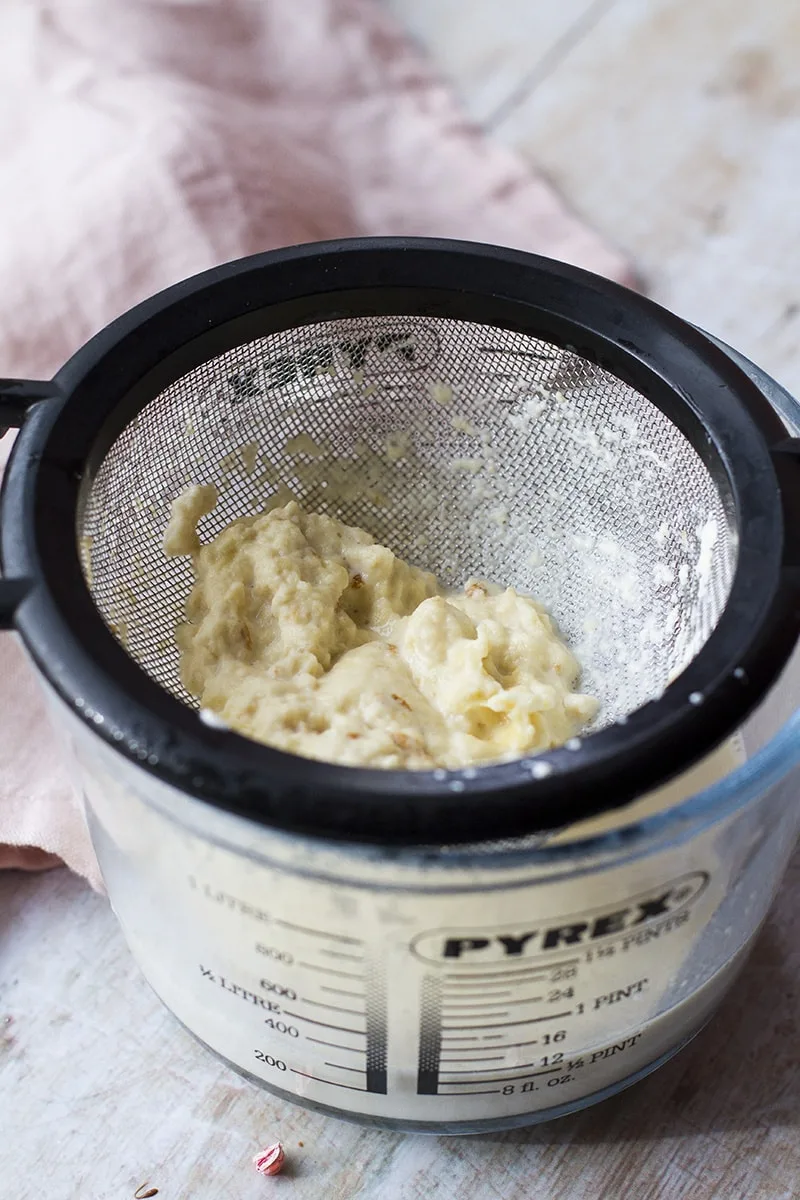
If your condensed milk has curdled too much, you can also just run it through a sieve to get rid of it. Keep in mind that the milk will then be thinner.
What to do with sweetened condensed milk
It is amazing all the things you can do with sweetened condensed milk. My all-time favorite way to use it is by making no-churn ice cream!* Yes, that is the reason for this post as well. I don't have an ice cream maker, but now I'm thinking I don't even need one.
* Before you ask, no you can't use the unsweetened evaporated milk for no-churn recipes. It has to be sweetened.

Using sweetened condensed milk in ice cream helps achieve that creamy texture and it really does taste like regular ice cream. I would never say it if I didn't mean it. Here are my favorite no-churn ice creams: chocolate coffee ice cream and pistachio ice cream.
Another fantastic use of sweetened condensed milk is this Brazilian lemonade with limes, sugar, water and sweetened condensed milk. Such an addictive treat!
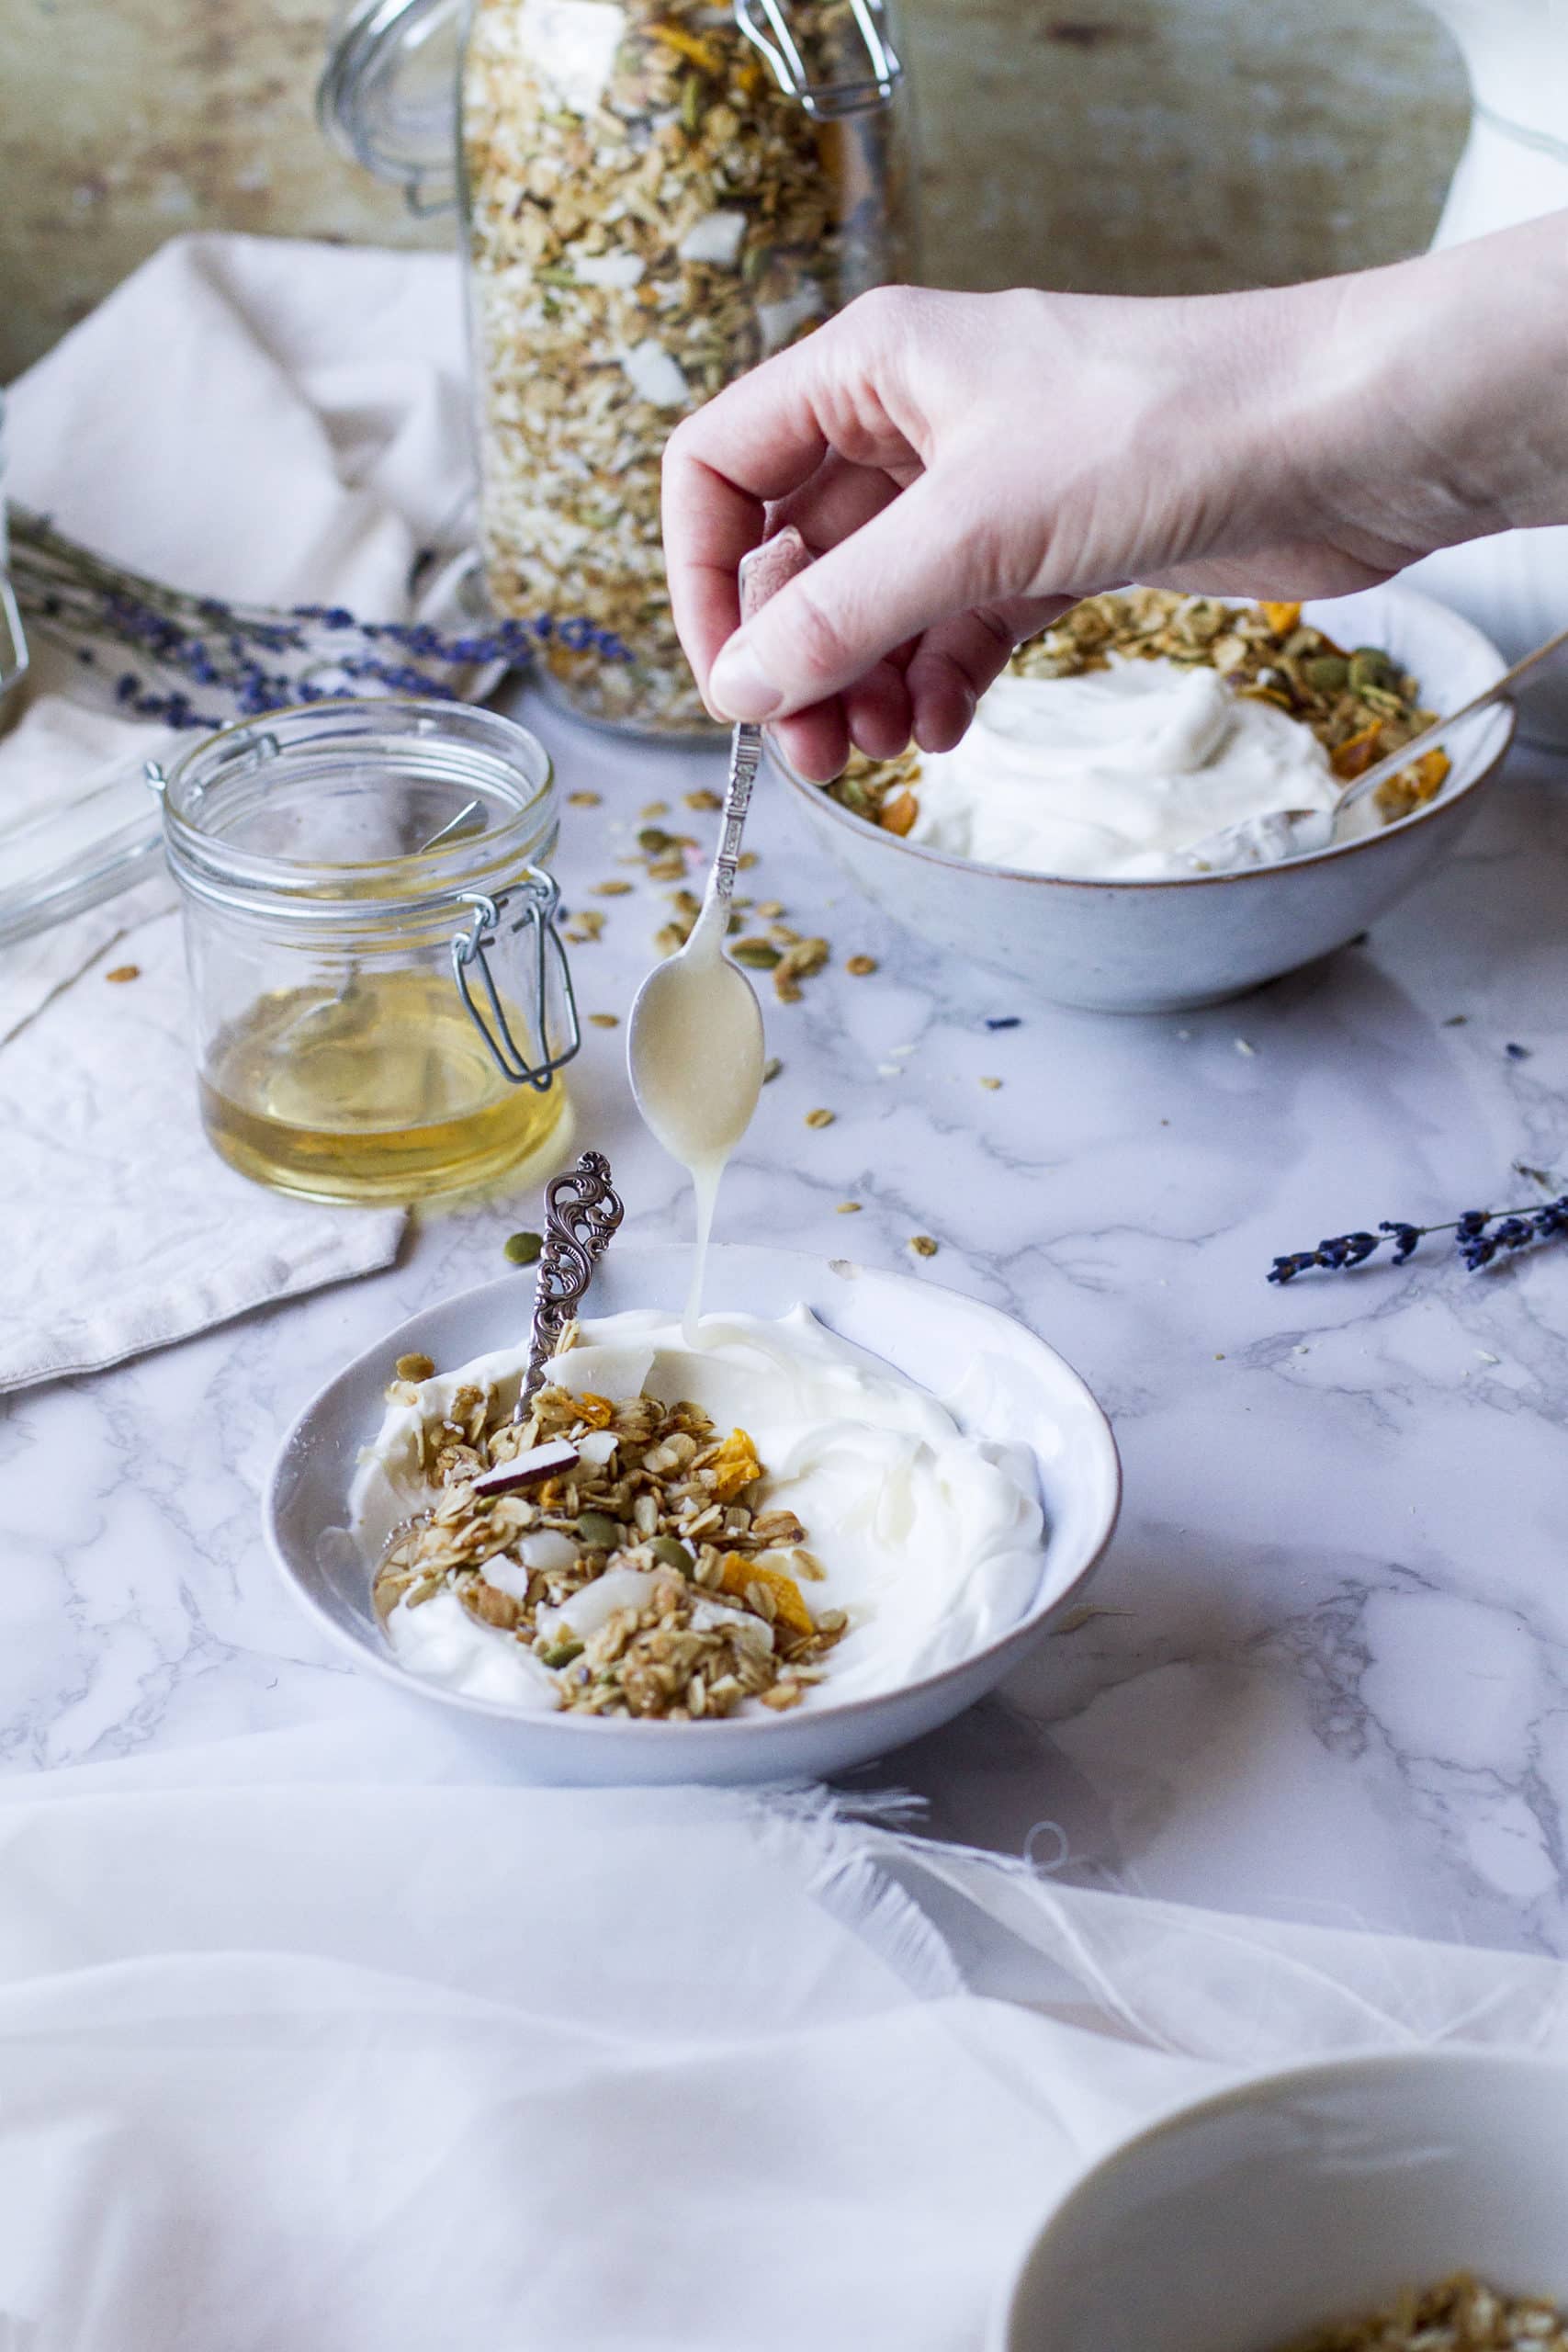
I also love to just pour it into my tea in the morning (or coffee if that is your thing), or dollop a few on my homemade granola, lavender honey and Greek yogurt.

Other ways to use it:
- In cocktails, like this Tres Leches Cocktail from my friend Aubrey at Aubrey's Kitchen. Bonus: this uses both evaporated and sweetened condensed milk. You're welcome.
- Homemade fudge, like Russian Fudge or Chocolate Fudge.
- Cheesecakes, such as this No Bake Cheesecake or Caramel Marshmallow Cheesecake.
- Rice puddings, for example Little Sunny Kitchen's Instant Pot Rice Pudding.
- Bars, like Mexican S'mores Bars, Chocolate Caramel Slices and Oreo Magic Bars.
- Cakes, like German Chocolate Poke Cake and Tres Leches Cake.
- And let's not forget drinks like the super delicious Brazilian Lemonade and Thai Iced Tea!
And as you will discover with this post, you can also use sweetened condensed milk to make dulce de leche, so for uses on that you have to keep reading.
Classic Sweetened Condensed Milk
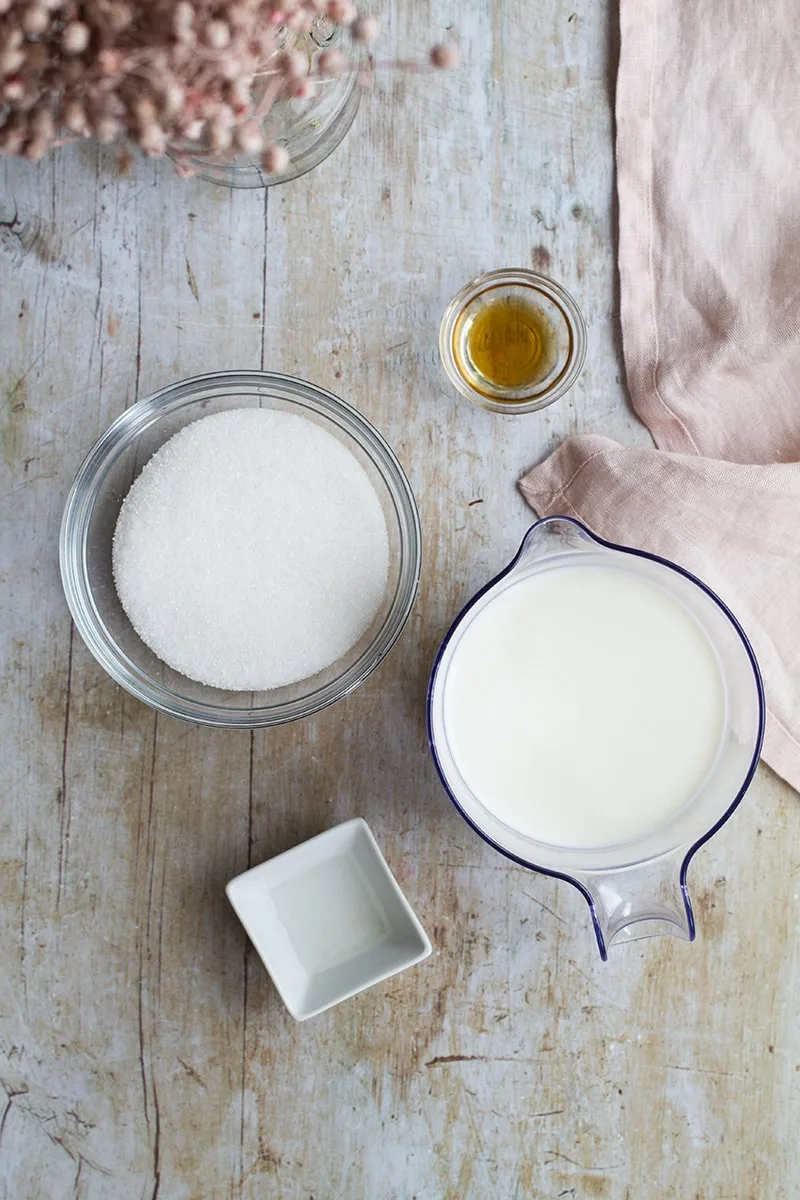
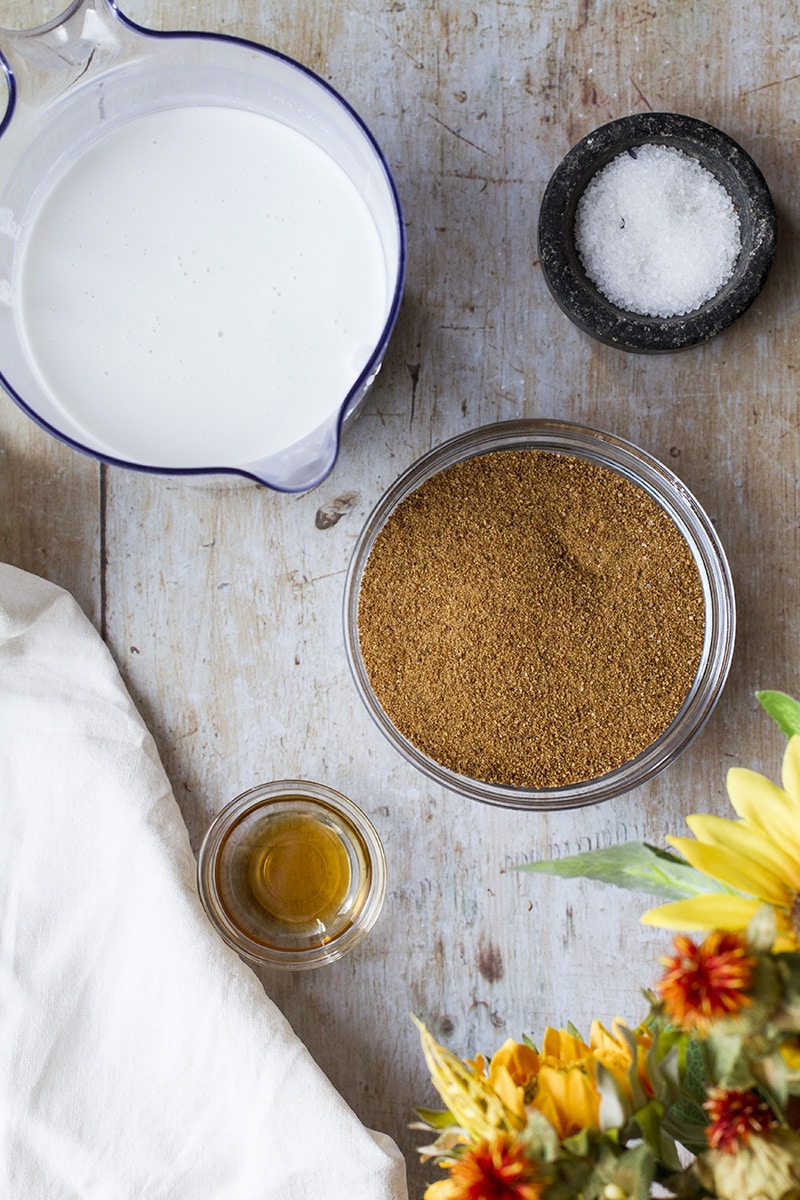
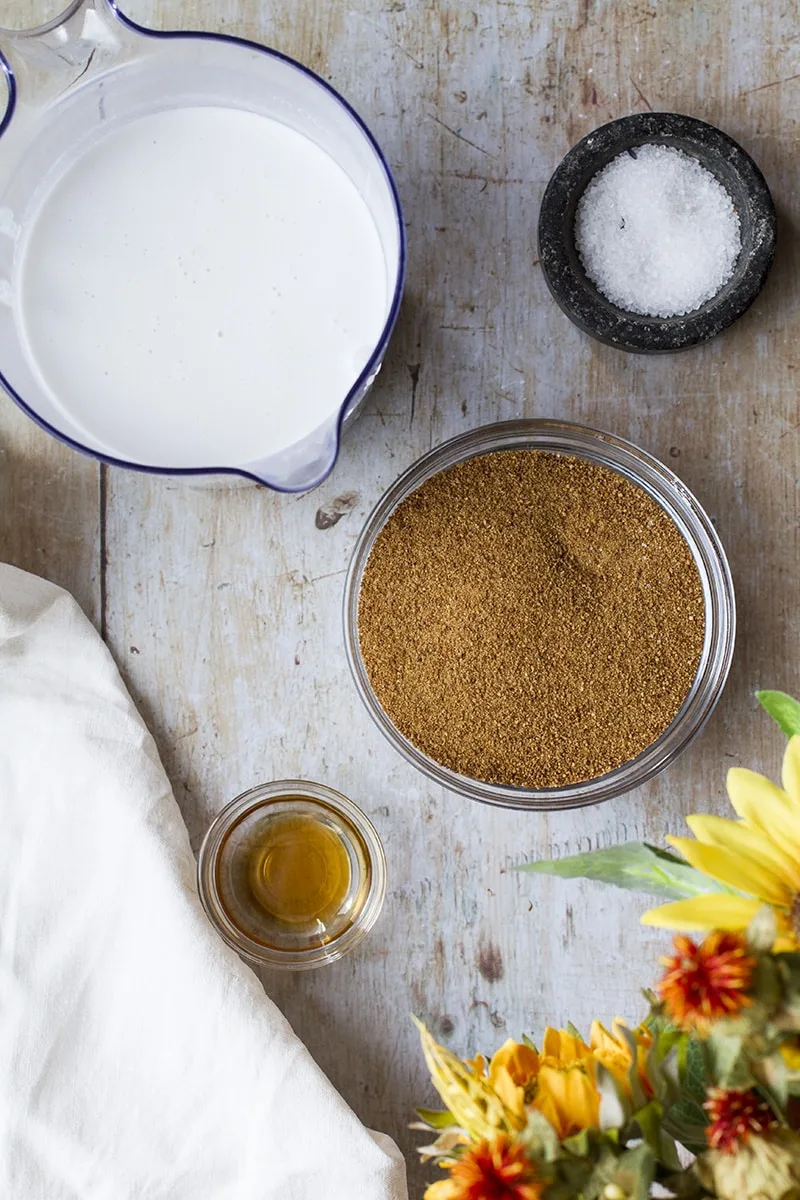
Whole milk and sugar and then salt and vanilla extract as optionals. That is pretty much it! Combine milk and sugar in a non-stick casserole (easier clean-up) on medium heat and stir until the sugar dissolves.

Yes, my condensed milk boiled over because I turned my head once. I recommend keeping an eye on it until you have control of the boiling action. But you can still see the final color we aim for here!
Now let it come to a boil and reduce to a simmer and simmer for approx 45 minutes or until it is 300 ml (1 ⅓ cup). That equals to 1 14 oz can of sweetened condensed milk. Scoop out any froth, do not stir that back into the milk. Stir often so it doesn't burn.
I always keep a glass measuring jar (or any heat proof measuring cup) next to my stove and occasionally pour the liquid into it to see how much has evaporated. I am in no condition to be able to see into my casserole to know when it has reduced by about ½-2/3.
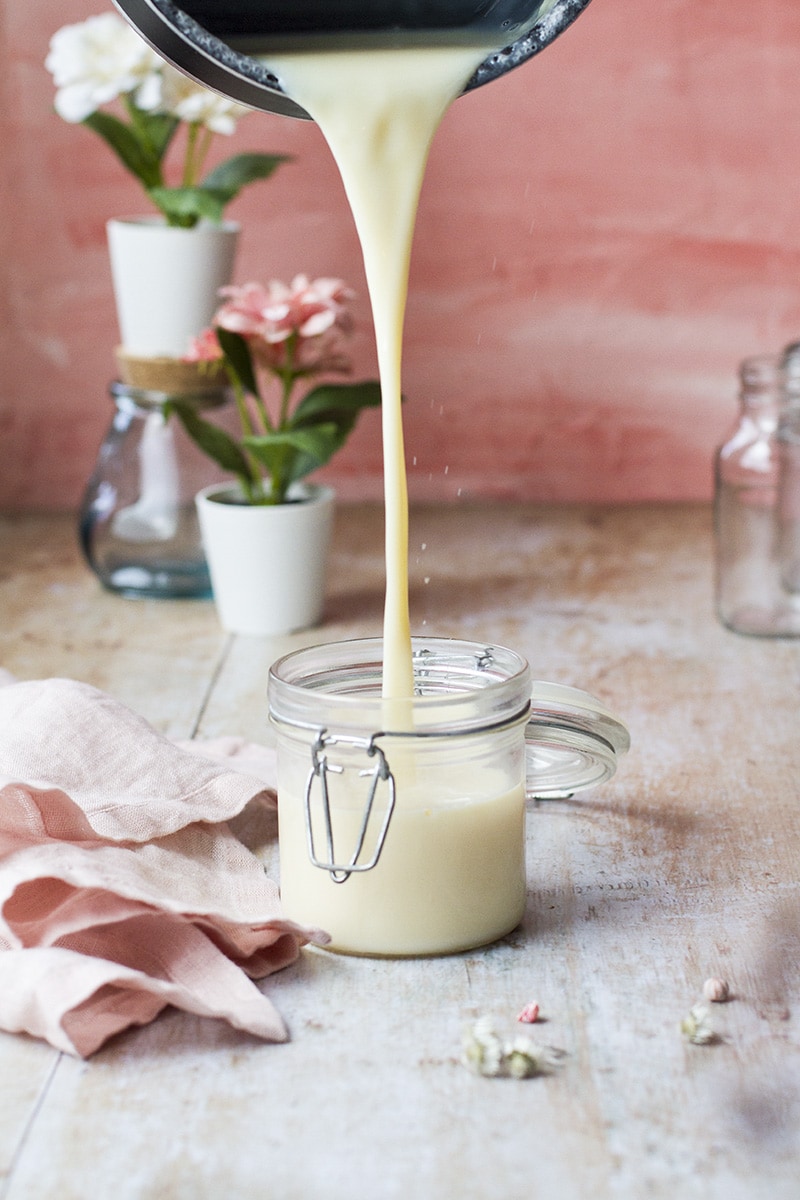
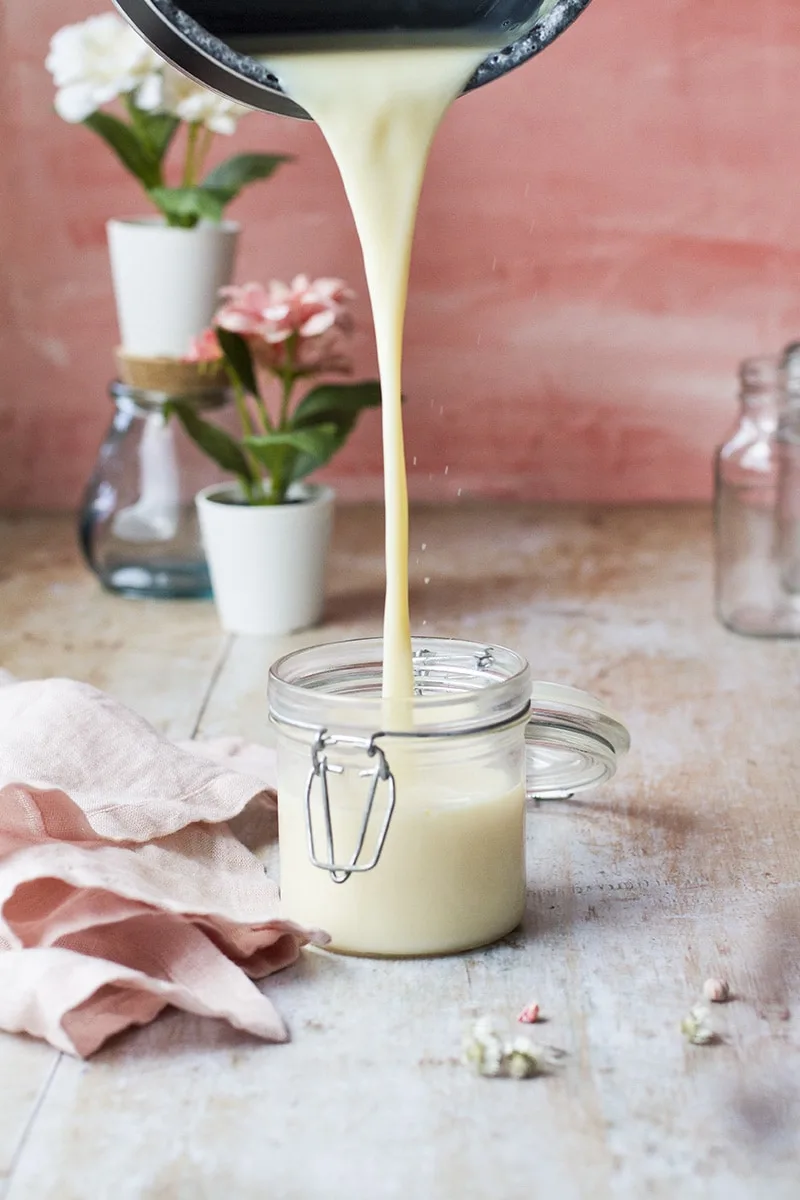
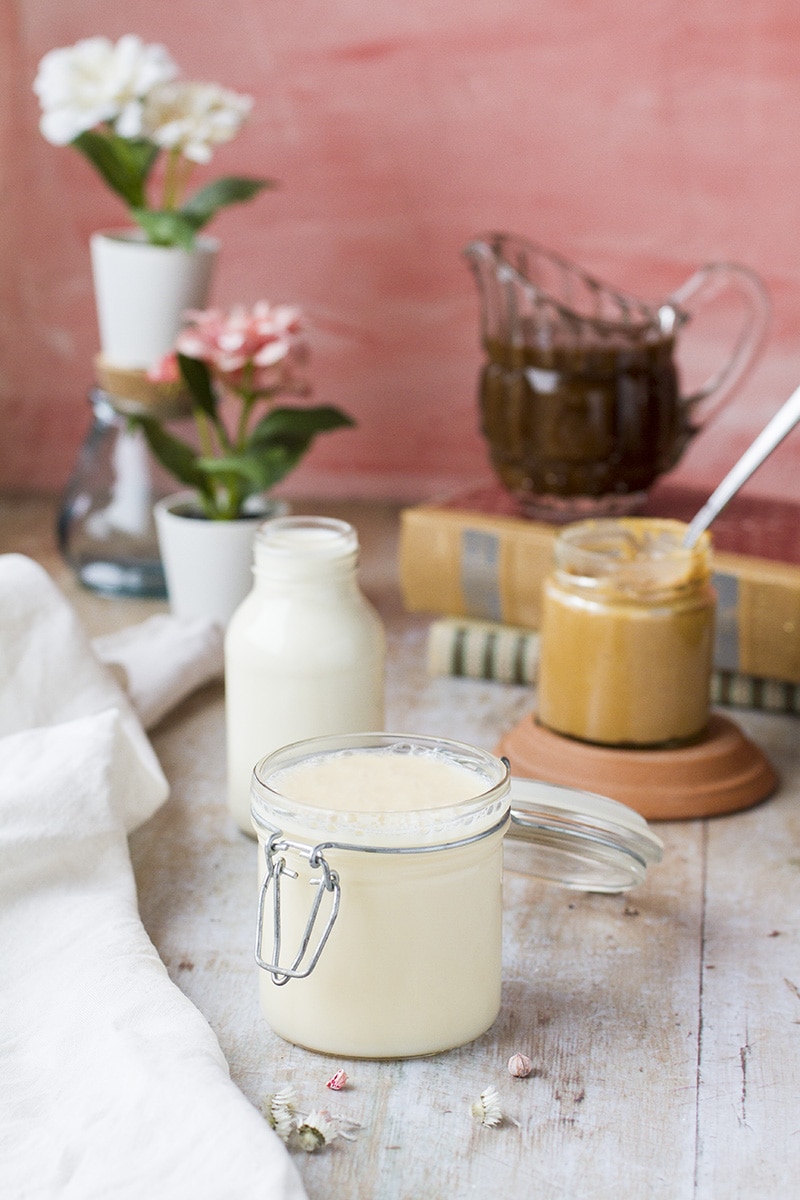
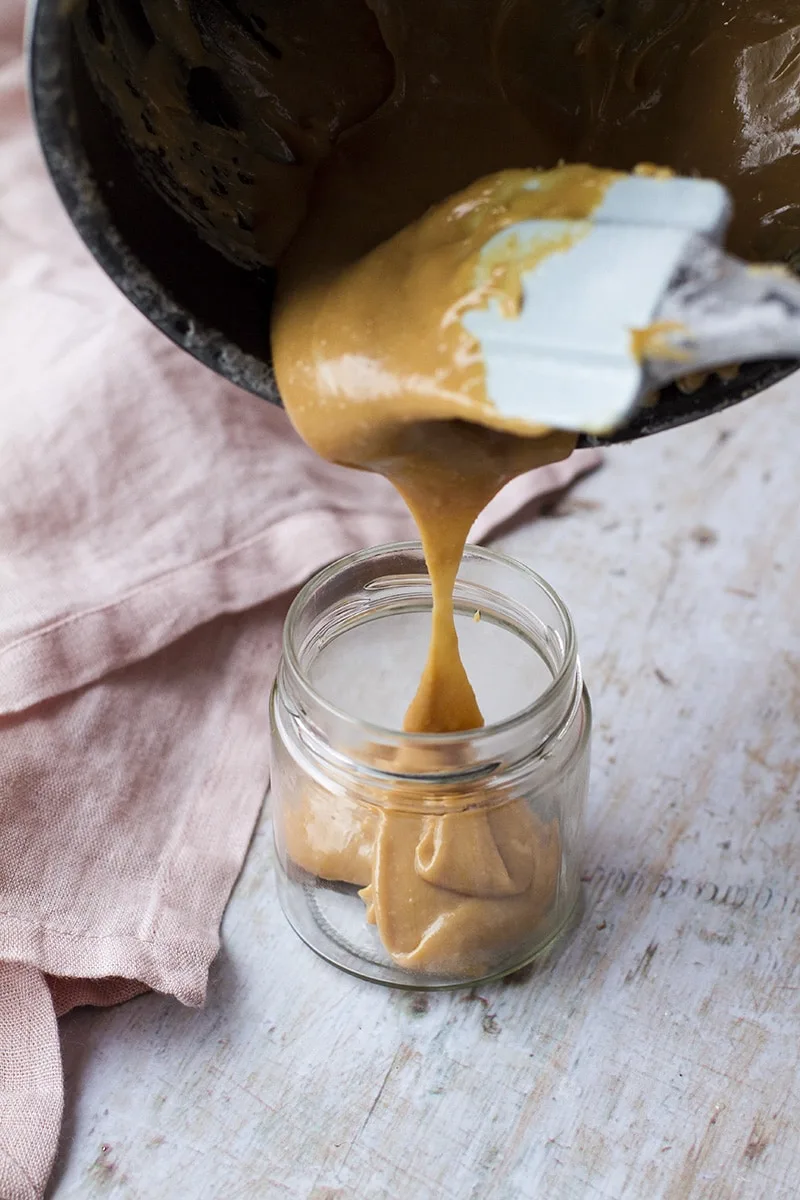
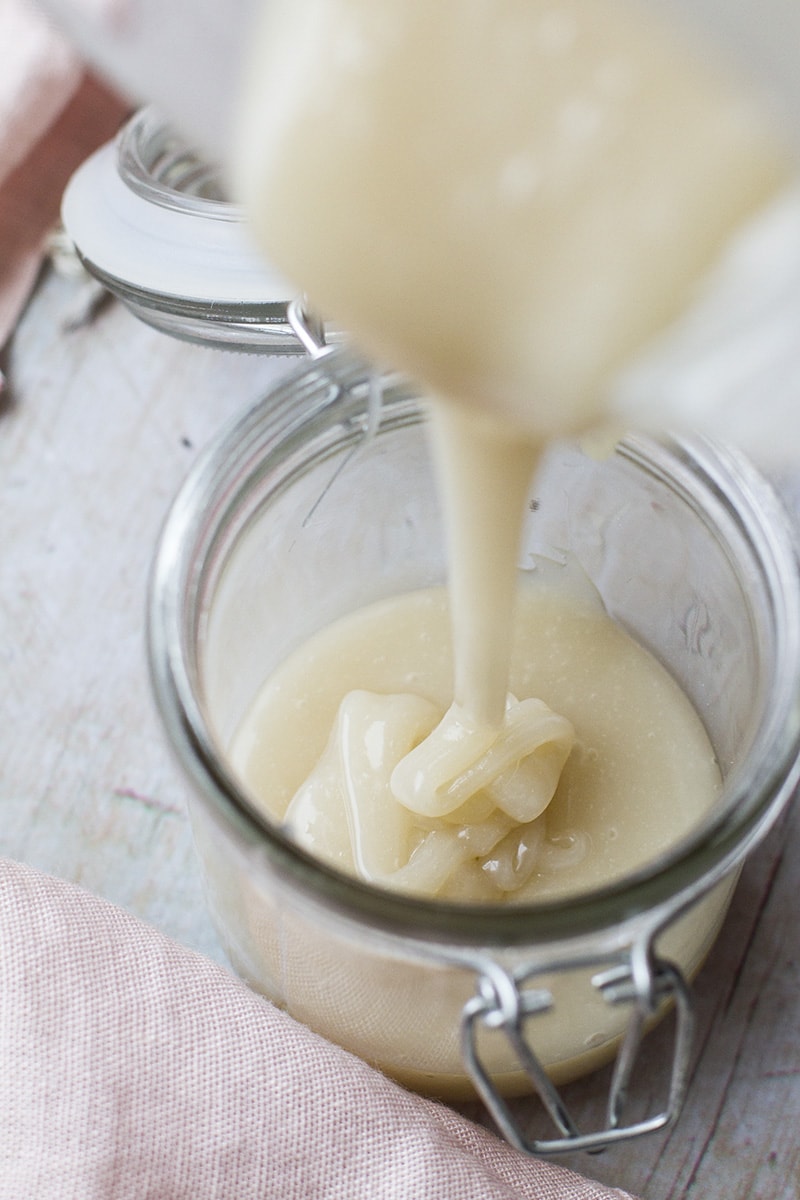
Pouring the sweetened condensed milk into the jar before it has cooled, so keep in mind it will get thicker.
How to make sure you get the right consistency
This is way more accurate than looking at the minutes of simmering. I actually contemplated removing minutes from this recipe because it will vary based on your stove, the size of your pot, how hard it is simmering etc. Much better to just pour it into a measuring cup occasionally, starting at about the 30 minute mark.
Sweetened condensed milk from a can is reduced to about 40% of its original volume (i.e., water reduced by 60%) and melted sugar has about 9/16 of its original volume. So to get about the same as a store bought can, you need to reduce this mixture down to 300 ml. You can, however, also reduce it by half to make it a little thinner.
Keep in mind that the condensed milk will thicken once it has cooled and especially chilled from the refrigerator. If you find it is too thick for your use, you can take what you need and microwave it for 15-30 seconds and it will become liquidy again. This is usually not an issue when adding it to tea and coffee, but it can be for making other things.

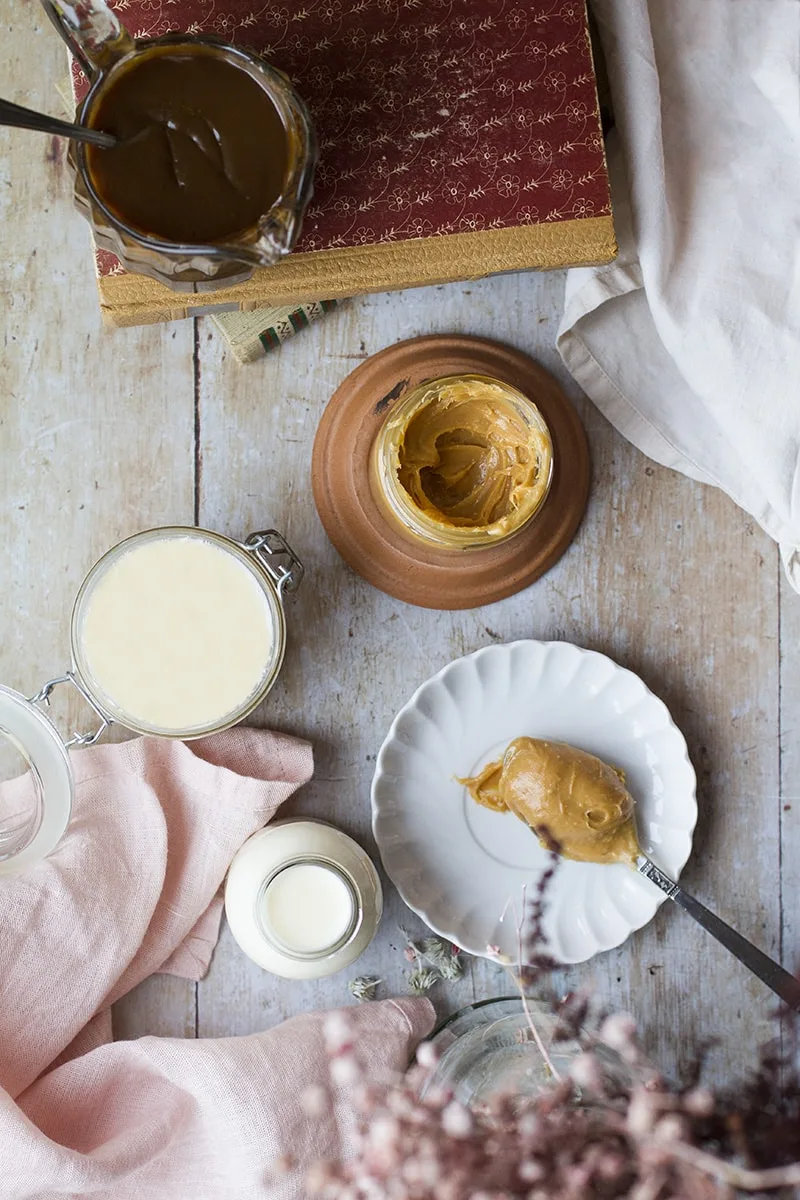
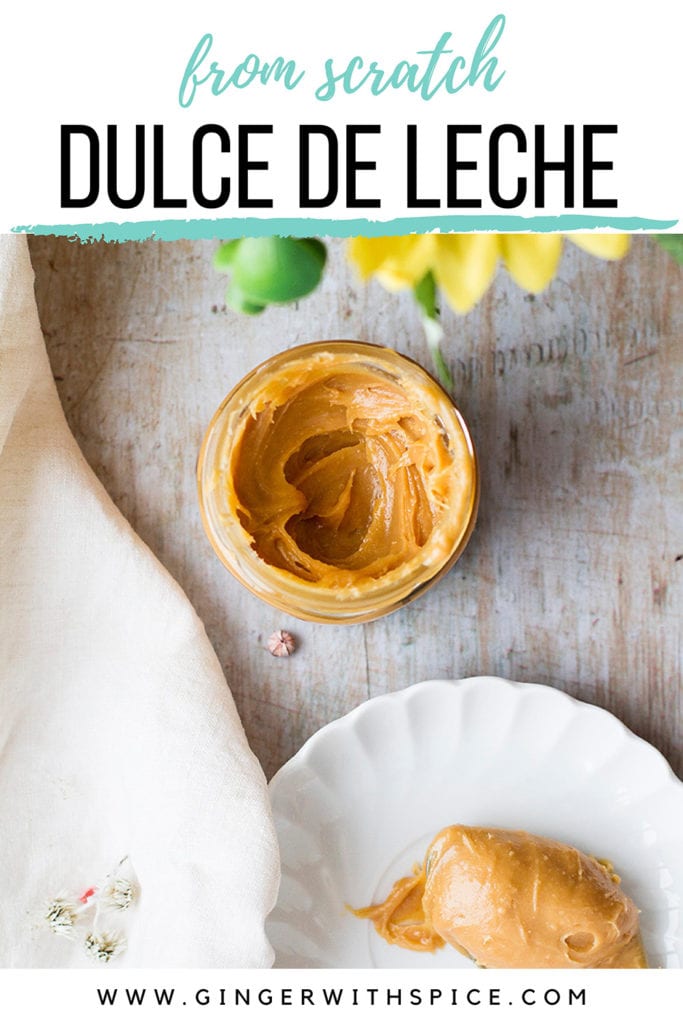
Dulce de leche from scratch
Which is basically just caramelized sweetened condensed milk. Dulce de leche is not exactly the same as caramel, although the flavor is in the same ball park. Dulce de leche (pronounced dool-seh deh leh-tcheh) tastes like sweet, milky caramel. Just as you would expect!
It is easy to make dulce de leche using a sweetened condensed milk can, but if you want to make it from scratch, you need to follow this recipe. In a large saucepan, combine whole milk with sugar and bring it up to a boil.
Take it off the heat and mix in the baking soda (this helps to avoid coagulation). Let it simmer for about 1 ½ hours, but stir occasionally. Stir more often after the 1 hour mark, it quickly turns into this amber, caramel color.
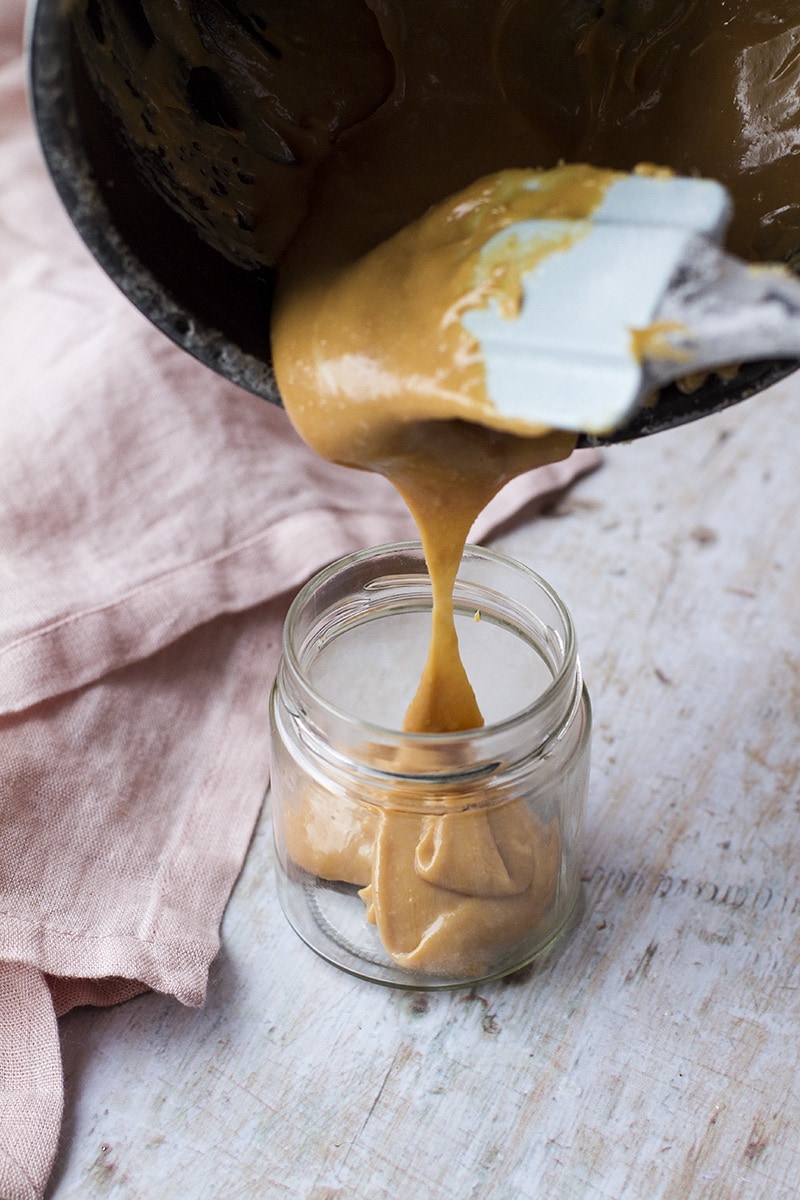
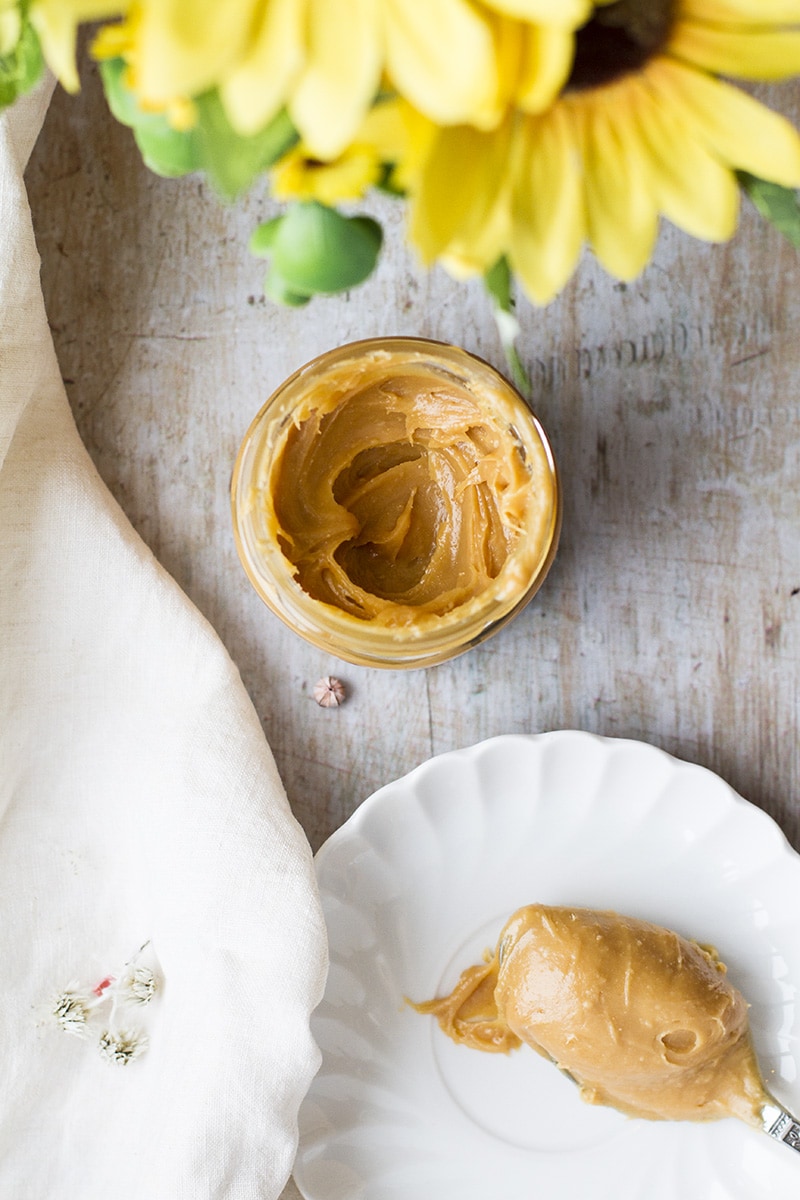
Dulce de leche consistency once it has cooled, should be a thick but spreadable texture.
The funny thing is that I thought I couldn't get a hold of dulce de leche here in little Norway, but Norwegians have been spreading dulce de leche on their bread since 1949*! The first time I tried real dulce de leche, I was amazed at how similar it was to this Norwegian spread. So if you ever find yourself in Norway, make sure to try a jar of Hapå!
* Obviously it is not the same, but in my opinion it is very similar in both texture and flavor. Hapå can be a little bit more denser, but it is spreadable as well.
Dulce de leche recipes
Because dulce de leche is pretty different than the other condensed milk recipes, I sectioned it out so it's easier to find these recipes.
- Cookies like spiced linzer cookies and alfajores
- Dulce de leche cupcakes
- Dulce de leche popsicles
- Salted dulce de leche fireball truffles

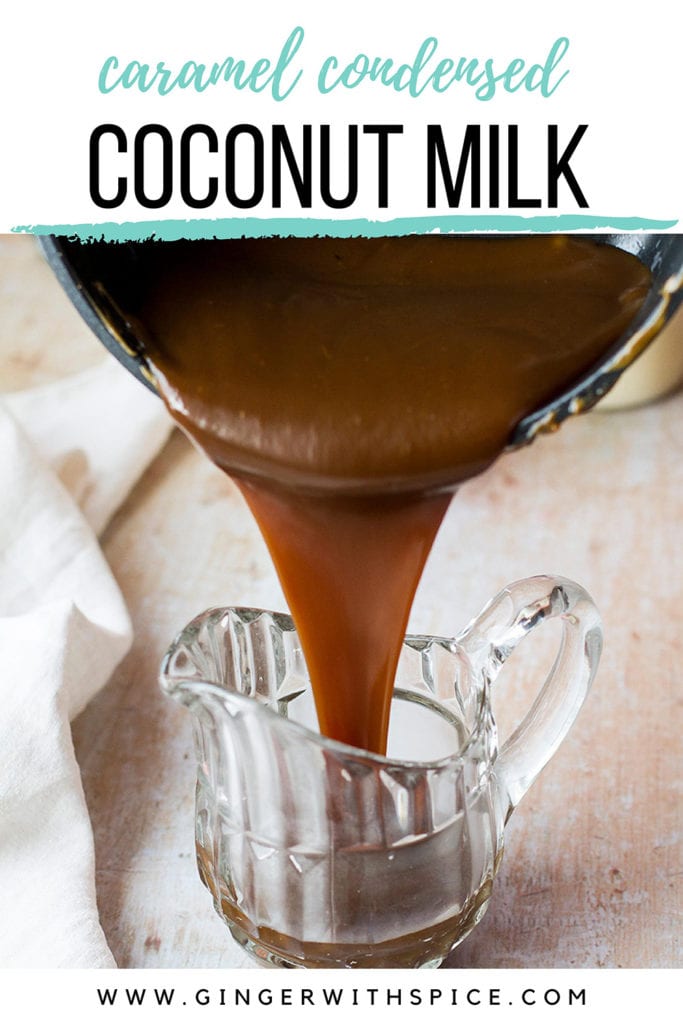
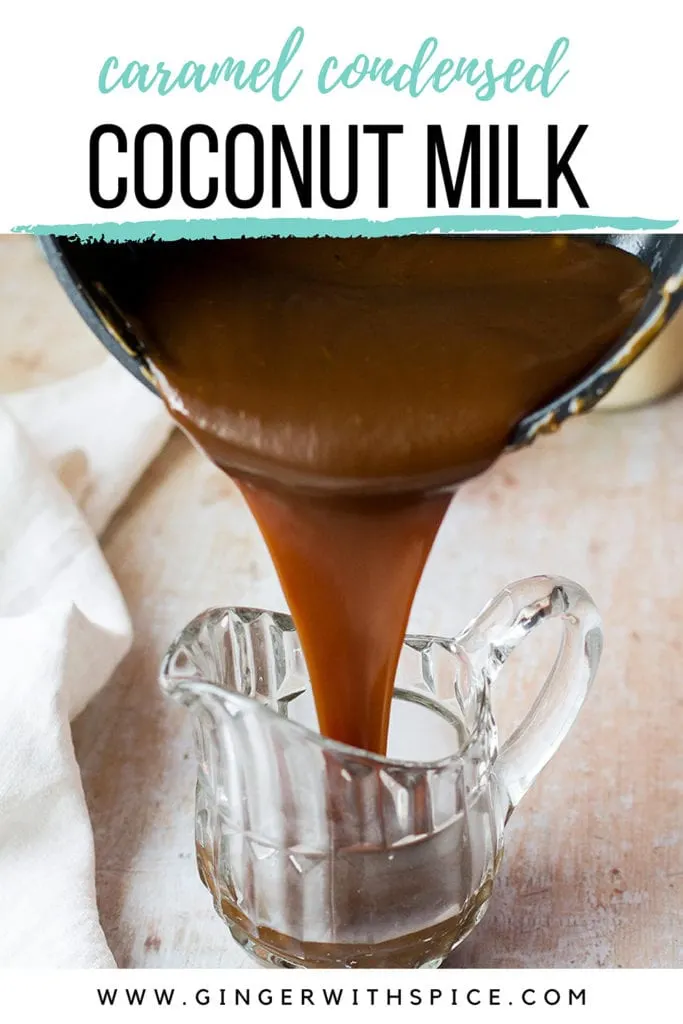
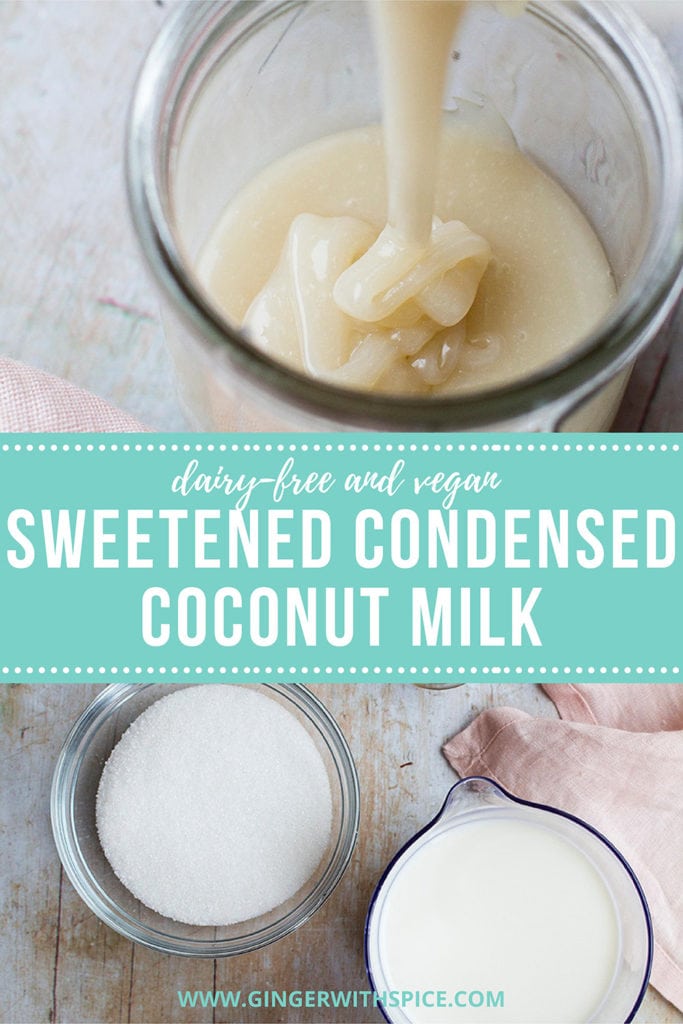
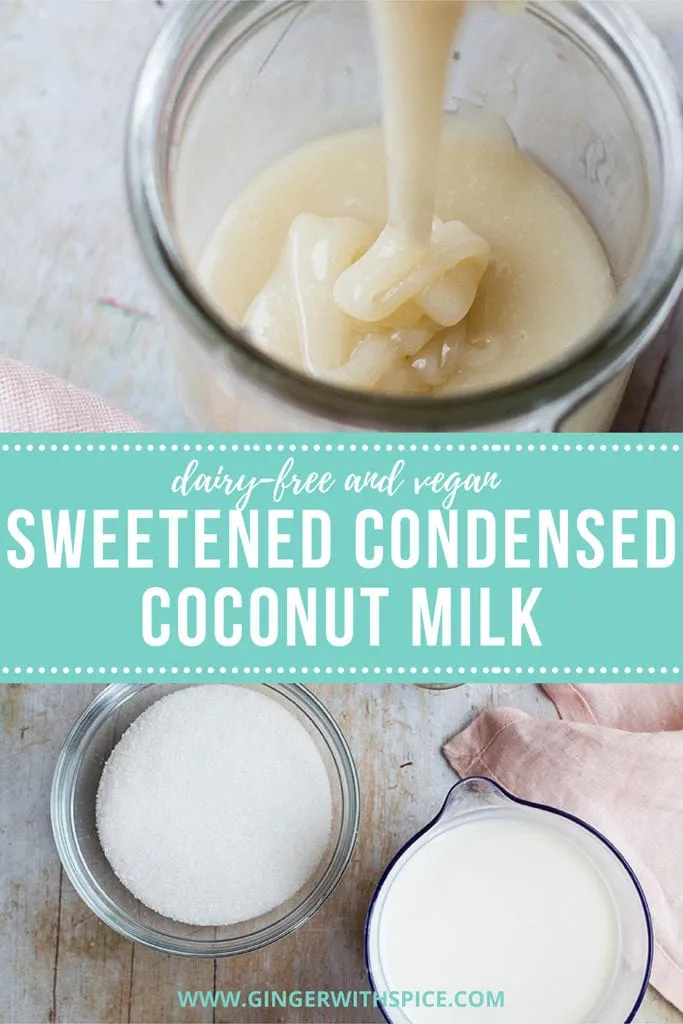
Vegan Sweetened Condensed Coconut Milk
I actually think this is my favorite of them all! Such an easy way to get that coconut flavor into pretty much anything. And it is also a great dairy-free and vegan alternative, making it possible to make dairy-free and vegan no-churn ice cream with a coconut or even piña colada twist.
You can make this basic with regular granulated sugar, and you will get a silver-colored sweetened condensed milk with coconut flavor. But you could also use dark coconut sugar and the mixture will get much darker, almost like chocolate.
This version of the condensed coconut milk will taste much stronger, with hints of caramel and coffee. In fact, it reminds me a bit of this Guinness salted caramel sauce. Because of the strong color and flavor, I don't recommend using this version for things like piña colada ice cream or other dishes that are supposed to be more white-ish.
But it is yummy in tea, especially chai tea! And coffee of course.
Use the same exact method as with the classic. For me, it took about 45 min, but I recommend using a measurement cup to see how it goes.
If you don't need exactly the equivalent of a 14 oz can, for ease you can use just one can of coconut milk (14 oz or about 400ml) instead of 500ml, and then ½ cup of sugar (100g). Reduce this down to about 230ml or 1 cup.
I also use this coconut condensed milk in piña colada ice cream!

Condensed coconut milk made with granulated sugar gets a silvery color. This is the consistency once cooled.
My calculations for future reference
- 1x14 oz can of coconut milk is 400 ml. 400 x 0.4 = 160ml.
- ½ cup of sugar is 120ml and it reduces by 9/16. 120 x (9/16) = approx 70ml.
- 160 + 70 ml = 230ml or roughly 1 cup.
However, if you need one 14 oz can of sweetened condensed milk, that is about 300 ml. So you would need about 500 ml coconut milk and 180 ml sugar.
- 500 ml x 0.4 = 200ml
- 180 ml x (9/16) = 100ml
- = 300ml
This will depend on what you need it for. For example no-churn ice cream always uses a 14 oz can of sweetened condensed milk, but it wouldn't matter much if all you're going to use it for is to drizzle over granola or have it in your tea.

Condensed coconut milk made with coconut sugar gets this intense dark color and tastes much more like caramel and coffee.
Evaporated Milk
Evaporated milk is simply whole milk cooked down by 60%. This milk tastes super milky. It kind of reminds me of milk directly from the cow, but cold (if served cold obviously). If you love the taste of milk, you will love this as well.

Let the milk simmer on low heat for a long time, stirring quite frequently. Remember to scoop out the froth on top, do not stir that back into the milk. The time will vary on the size of your pan and % fat in your milk and other things, so as with the other versions, I recommend checking using a measurement cup occasionally. Start checking at the 30 minute mark, but it will likely take around an hour.
Strain into glass bottles or jars and keep covered in the refrigerator. Some say it will last 1 week in the refrigerator, but it can last longer than that too. Use your eyes and nose to evaluate. If it smells sour, discard it.
Evaporated milk is great in anything tres leches, in this Cuban flan, in pies like this lemonade cream cheese pie, fudge, French toast, salad dressings and even pasta sauces!
My goal for this post was to create from scratch recipes for a range of different condensed milk that amounted for 1) the same thickness as store bought cans, and 2) yielded about the same as one store bought can. I did the math so you don't have to. This way it is super easy to substitute the cans with these recipes!
What will you be making first and what will you use it for? Let me know in the comment section below!

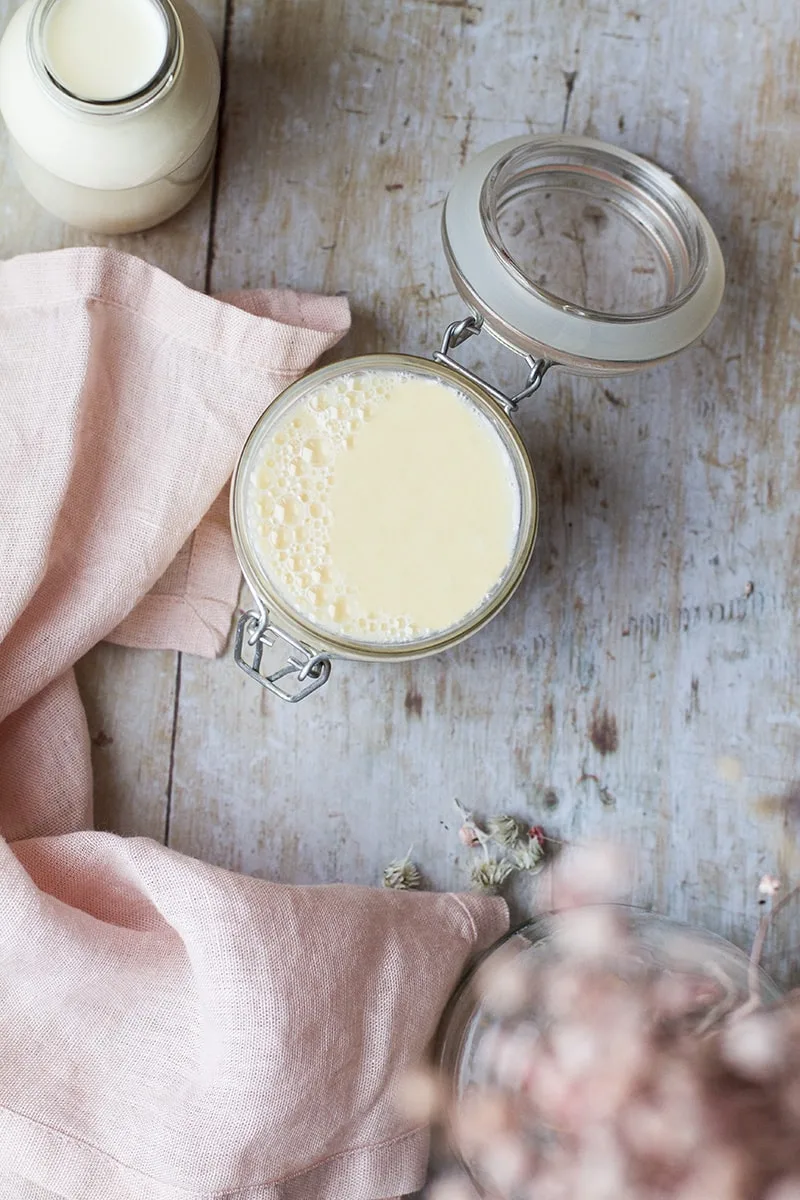
Freshly poured, the sweetened condensed milk gets some bubbles. You can just stir it once.
Did you like this back to basics recipe? Here's more I think you will like:
- How to Make Mayonnaise
- How to Cook Steaks
- Homemade Berry Cordial
- How to Make Pumpkin Puree
- Homemade Salted Caramel Sauce
- No-Churn Ice Cream: Chocolate Coffee or Pistachio
I’d love to hear your thoughts. Comment below or tag me @thegingerwithspice on Instagram. And don’t forget to Pin it for later! To make sure you’re never missing another recipe, please feel free to subscribe to my newsletter. As a thanks you will receive a free e-cookbook Travels Through the Seasons, with many delicious recipes from around the world that suit different seasons of the year.
In order to keep the blog up and running this post may contain affiliate links, it will be at no extra cost to you, please read the disclosure for more information.
Download your FREE copy of Travels Through the Seasons Cookbook here!
📖 Recipe

How to Make Sweetened Condensed Milk (4 Ways)
All you need to know in order to make sweetened condensed milk at home, from scratch. 4 ways; from classic to dairy-free, to unsweetened and to dulce de leche!
Ingredients
Classic Sweetened Condensed Milk
- 2 cups whole milk (500ml)
- ¾ cup sugar (150g)
- 1 teaspoon vanilla extract, optional
- ¼ teaspoon salt, optional
Vegan Condensed Coconut Milk
- 2 cups full-fat coconut milk (500ml)
- ¾ cup sugar (150g) - coconut or granulated*
- 1 teaspoon vanilla extract, optional
Dulce de Leche
- 4 cups whole milk (1 liter)
- 1 cup granulated sugar (200g)
- ¼ teaspoon baking soda, optional
- 1 teaspoon vanilla extract, optional
- ¼ teaspoon salt, optional
Evaporated Milk
- 3 cups whole milk (750ml)
Instructions
Classic Sweetened Condensed Milk
- Combine milk and sugar in a non-stick casserole (easier clean-up) on medium heat and stir until the sugar dissolves.
- Let it come to a boil and reduce to a simmer and simmer for approx 45 minutes or until it is 300 ml (1 ⅓ cup = 14 oz can) - occasionally pour into a heat proof measuring cup to check. Scoop out any froth, do not stir that back into the milk. Stir often so it doesn’t burn. Stir in vanilla extract at the end, if using. It will thicken once it cools.
Vegan Condensed Coconut Milk
- Use the same method as with the classic. Once it's done it will get a silvery color if using granulated sugar*. If you don't need exactly the equivalent of a 14 oz can of sweetened condensed milk, you can reduce the recipe to use one can of coconut milk (14 oz/400ml) and ½ cup (100g) of sugar. That makes 1 cup or 230ml.
Dulce de Leche
- In a large saucepan, combine whole milk with sugar and bring it up to a boil. Take it off the heat and mix in the baking soda (this helps to avoid coagulation).
- Let it simmer for about 1 ½ hours, but stir occasionally (every 10 minutes or so). Stir more often after the 1 hour mark (every other minute), it quickly turns into this amber, caramel color. You can also test the amount with a measurement cup. Stir in vanilla extract and salt at the end, if using. It will thicken once it cools.
Evaporated Milk
- In a large saucepan, let the milk simmer on low heat, stirring quite frequently. Scoop out the froth on top, do not stir that back into the milk. The time will vary on the size of your pan and % fat in your milk and other things, so as with the other versions, I recommend checking using a measurement cup occasionally.
- Start checking at the 30 minute mark, but it will likely take around an hour. Done when it's 1 ⅓ cup or 300ml. Also thickens once it cools. Keeps 1 week+ in the refrigerator.
Notes
* If using dark coconut sugar, the condensed coconut milk willl get a dark, chocolatey color and tastes more like coffee and caramel. Not suitable for things that are supposed to look white, but other than that it is delicious!
As mentioned, I recommend you to not look at the time, but rather the color and the amount of milk left in the pan. There are too many variables that can alter the time (such as size of saucepan and heat). Check how much it has reduced in a heat proof measuring cup. The goal is 1 ⅓ cup or 300 ml. If using just one can of coconut milk and ½ cup sugar, your goal is 1 cup or 230 ml.
If it curdles, you can either run it a few seconds in a blender or through a sieve, but it will get thinner if running through a sieve.
Nutrition Information:
Yield: 10 Serving Size: 2 tbspAmount Per Serving: Calories: 87Total Fat: 1.6gSaturated Fat: 0.9gCholesterol: 5mgSodium: 78mgCarbohydrates: 17.3gFiber: 0gSugar: 17.6gProtein: 1.6g
Nutrition for classic version. Nutrition information isn't always accurate, estimate for informational purposes only.