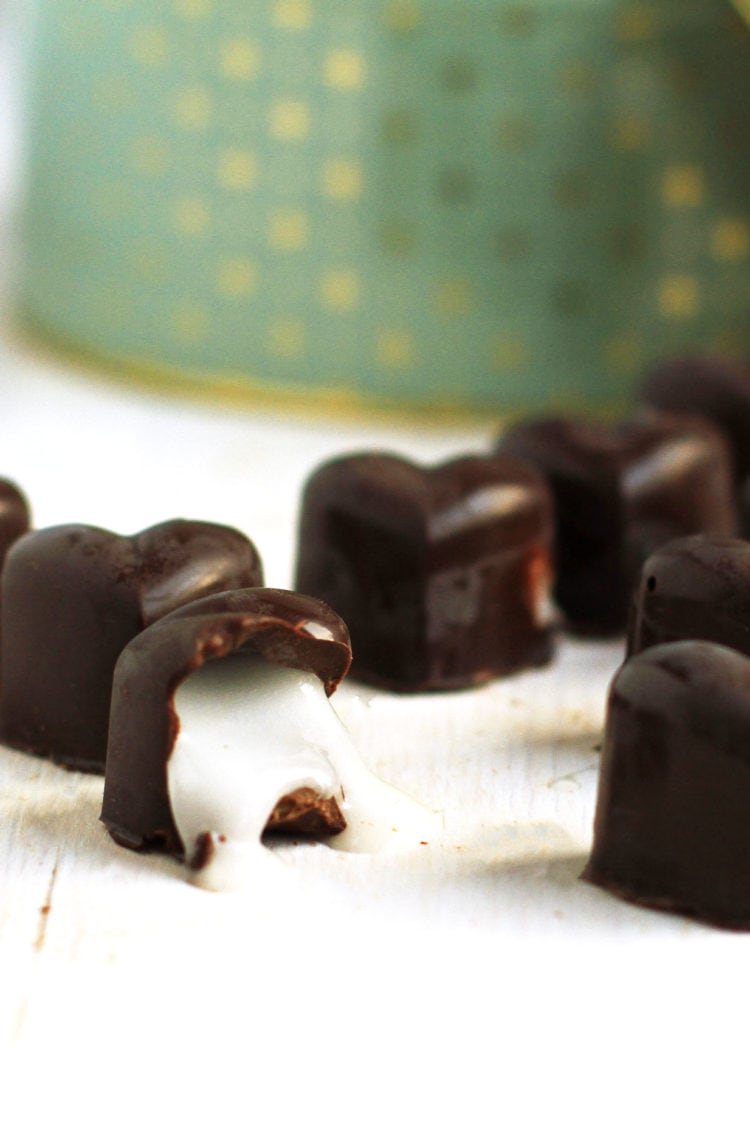
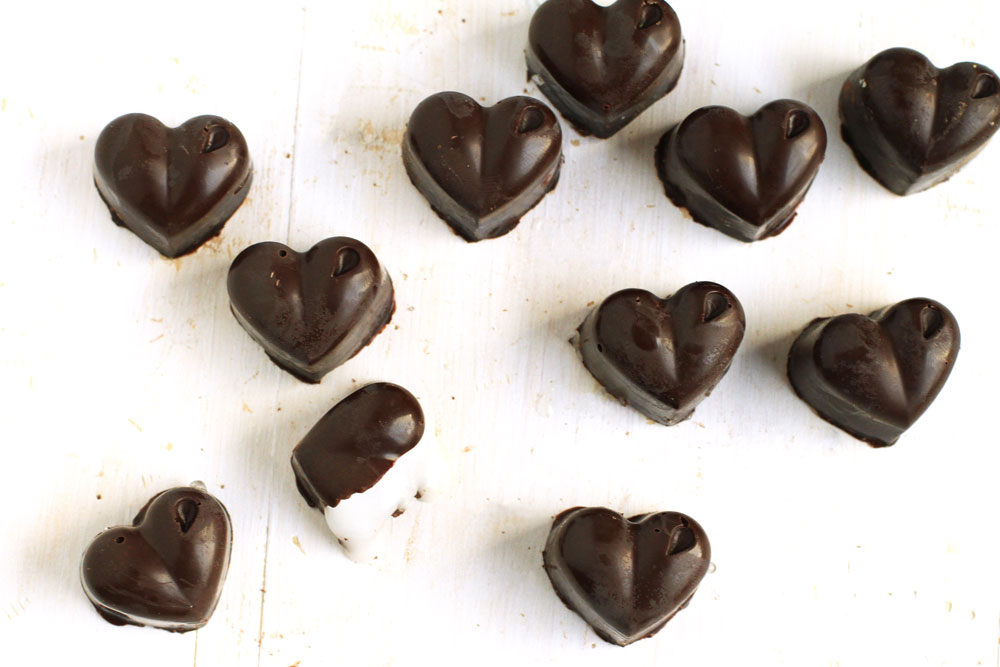
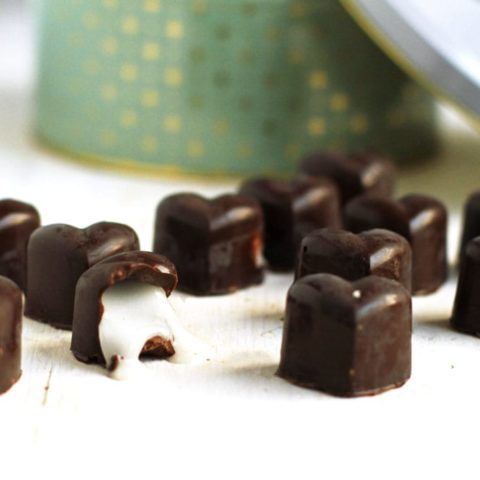
Valentine's Day is getting close. I like to receive gifts that has been made a little effort in. That means, it just needs to look that way. These peppermint dark chocolates are almost as easy as buying them at the store. And it's just so much more special and perfect for a Valentine.
The Valentine can be you of course, just make a batch and you'll love yourself. Trust me. These babies make any day just a little bit better. Serve them with Ginger Pear Bellinis that look like they've got floating gold flakes in them, and you'll be the Princess of today.
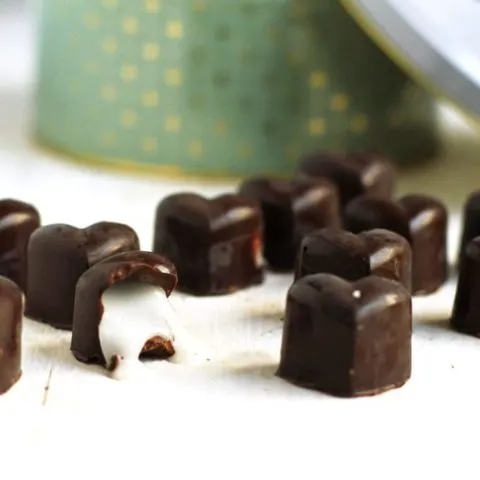
Peppermint Dark Chocolates
You'll need a mold, either it being some old chocolates box or silicone molds, it just need to hold the shape of a chocolate. Melt dark chocolate in the microwave, on 20 second intervals, and stir in between.
When the chocolate is melted and slightly cooled, pour a little bit in each mold and use the back of a small spoon and work your way up to the edge of the mold.
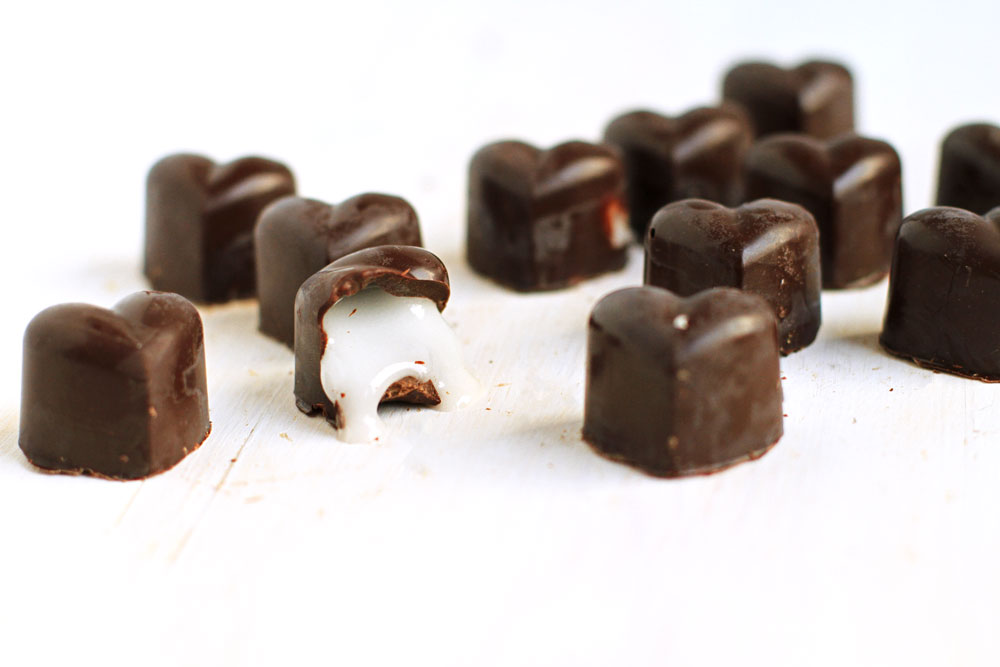
This way the entire mold is covered in a thin layer of chocolate, but not completely full as we need to fill them with the peppermint fillings! Place them in the fridge to set, around 30 minutes.
Meanwhile, make the fillings. Add the powdered sugar to a bowl, pour in the peppermint extract, and a little water. Add more water until you get the desired consistency. I like it firm but slightly runny. If it gets too runny, add in more powdered sugar.
Add a dollop of peppermint filling into each mold, remember to not fill completely to the edge. Add melted chocolate on top and level them with the edge of the mold.
Rap the molds firmly on the kitchen counter a few times to get rid of any air bubbles. Place back in the refrigerator and chill for about 30 minutes, or until set.
If you find a pretty chocolate box to put these peppermint dark chocolates in, I'd love to hear from you! It's difficult to google this as chocolate is so many things.
In Norway, this kind of chocolate is called konfekt which would make things a little easier. Oh well, maybe you can help!
Happy Valentine's Day!
What are you up to on this lovely day?
Valentine-worthy sweets:
- Ginger Pear Bellini
- Blackberry Martini
- Chocolate Coffee Cupcakes with Irish Baileys Frosting
- Tiramisu Cake with White Chocolate Mousse
- White Chocolate Mousse with Rose and Pistachio
- Chocolate Lava Cake with Raspberry Red Currant Sauce
- Salted Caramel Filled Milk Chocolates
- Nut Heaven Pralines
Or you can go all in and make yourself or your better half an entire box of chocolates.
Please tell me what you thought of this recipe, either in the comment section below, or tag med @thegingerwithspice on Instagram. And don't forget to Pin it for later!

In order to keep the blog up and running this post contains affiliate links, it will be at no extra cost to you, please read the disclosure for more information.
📖 Recipe
Peppermint Dark Chocolates for Valentine's Day
Easy and delicious peppermint dark chocolates to impress your Valentine!
Ingredients
- 700 grams dark chocolate (24 ounces)
- 400 grams powdered sugar (around 3 ⅓ cups)
- 2 teaspoons peppermint extract, or more to taste
- 5 tablespoons water, to desired consistency
- 2 teaspoons glucose powder + 2 teaspoons water (optional)
Instructions
- Melt dark chocolate in the microwave, on 20 second intervals, and stir in between. To temper dark chocolate, heat it up to 131 ℉ (55℃), cool it down to 82℉ (28℃) then back up to a working temperature of 88℉ (31℃) - try to keep it at this last temperature when you work with it..
- There are tons of ways to do this, but you could melt ¾, take out ¼ of the melted chocolate and add the remaining ¼ of the unmelted chocolate in to reduce the temperature. When it's at its lowest temperature, add the ¼ of the melted chocolate to increase the temperature again.
- When the chocolate is tempered, pour a little bit in each mould and use the back of a small spoon and work your way up to the edge of the mould. This way the entire mould is covered in a thin layer of chocolate, but not completely full as we need to fill them with the peppermint fillings! Place them in the fridge to set, around 20 minutes.
- Meanwhile, make the fillings. Add the powdered sugar to a bowl, pour in the peppermint extract and a little water. Add more water until you get the desired consistency. I like it firm but slightly runny. If it gets too runny, add in more powdered sugar. To make the filling less gritty, mix in glucose powder (mixed with a little water).
- Add a dollop of peppermint filling into each mould, remember to not fill completely to the edge. Add tempered chocolate on top and level them with the edge of the mould. Rap the moulds firmly on the kitchen counter a few times to get rid of any air bubbles.
- Place back to the refrigerator and chill for about 30 minutes, or until set.
Nutrition Information:
Yield: 60 Serving Size: 1 chocolateAmount Per Serving: Calories: 90Total Fat: 4gSaturated Fat: 2gTrans Fat: 0gUnsaturated Fat: 1gCholesterol: 1mgSodium: 3mgCarbohydrates: 14gFiber: 1gSugar: 12gProtein: 1g
Nutrition information isn't always accurate, estimate for informational purposes only.
natalia
Thursday 15th of February 2018
This looks so delicious! I love your blog!
Stine Mari | Ginger with Spice
Friday 16th of February 2018
Thanks a lot! I love yours too!