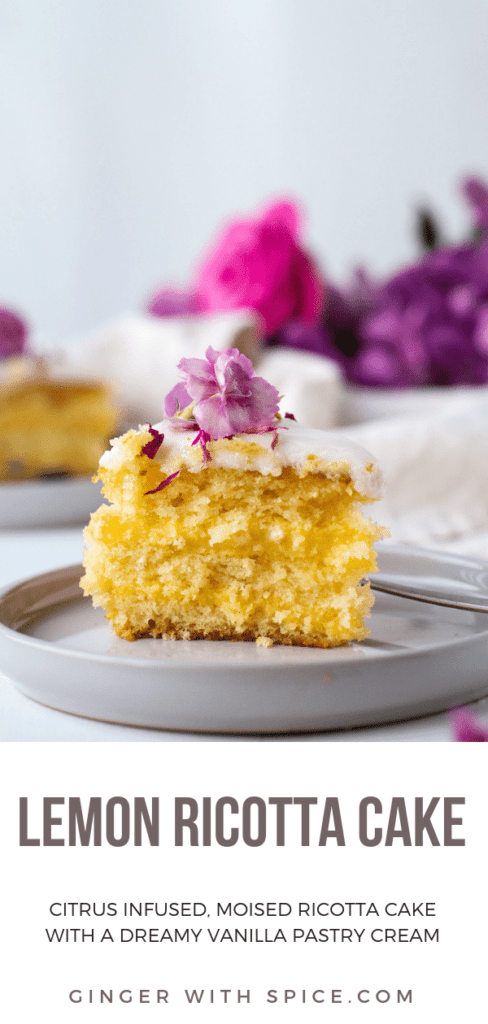
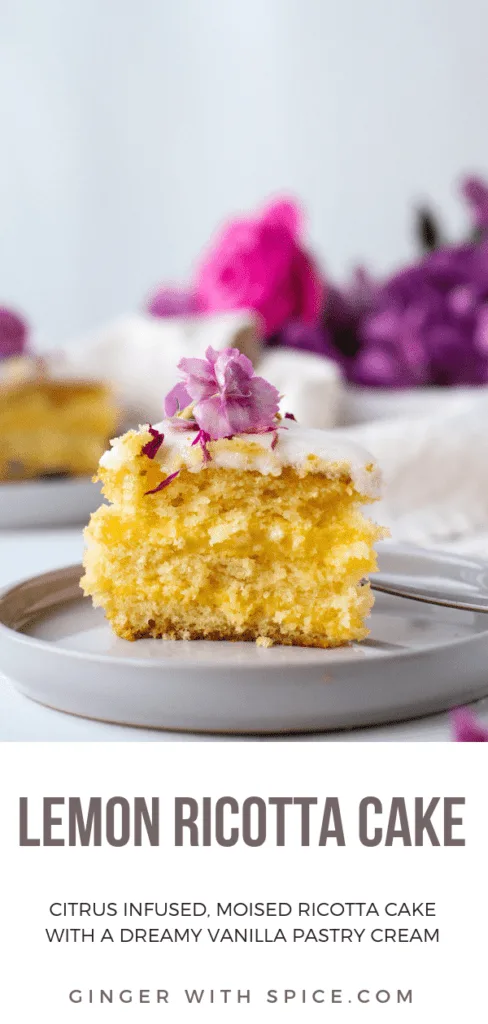
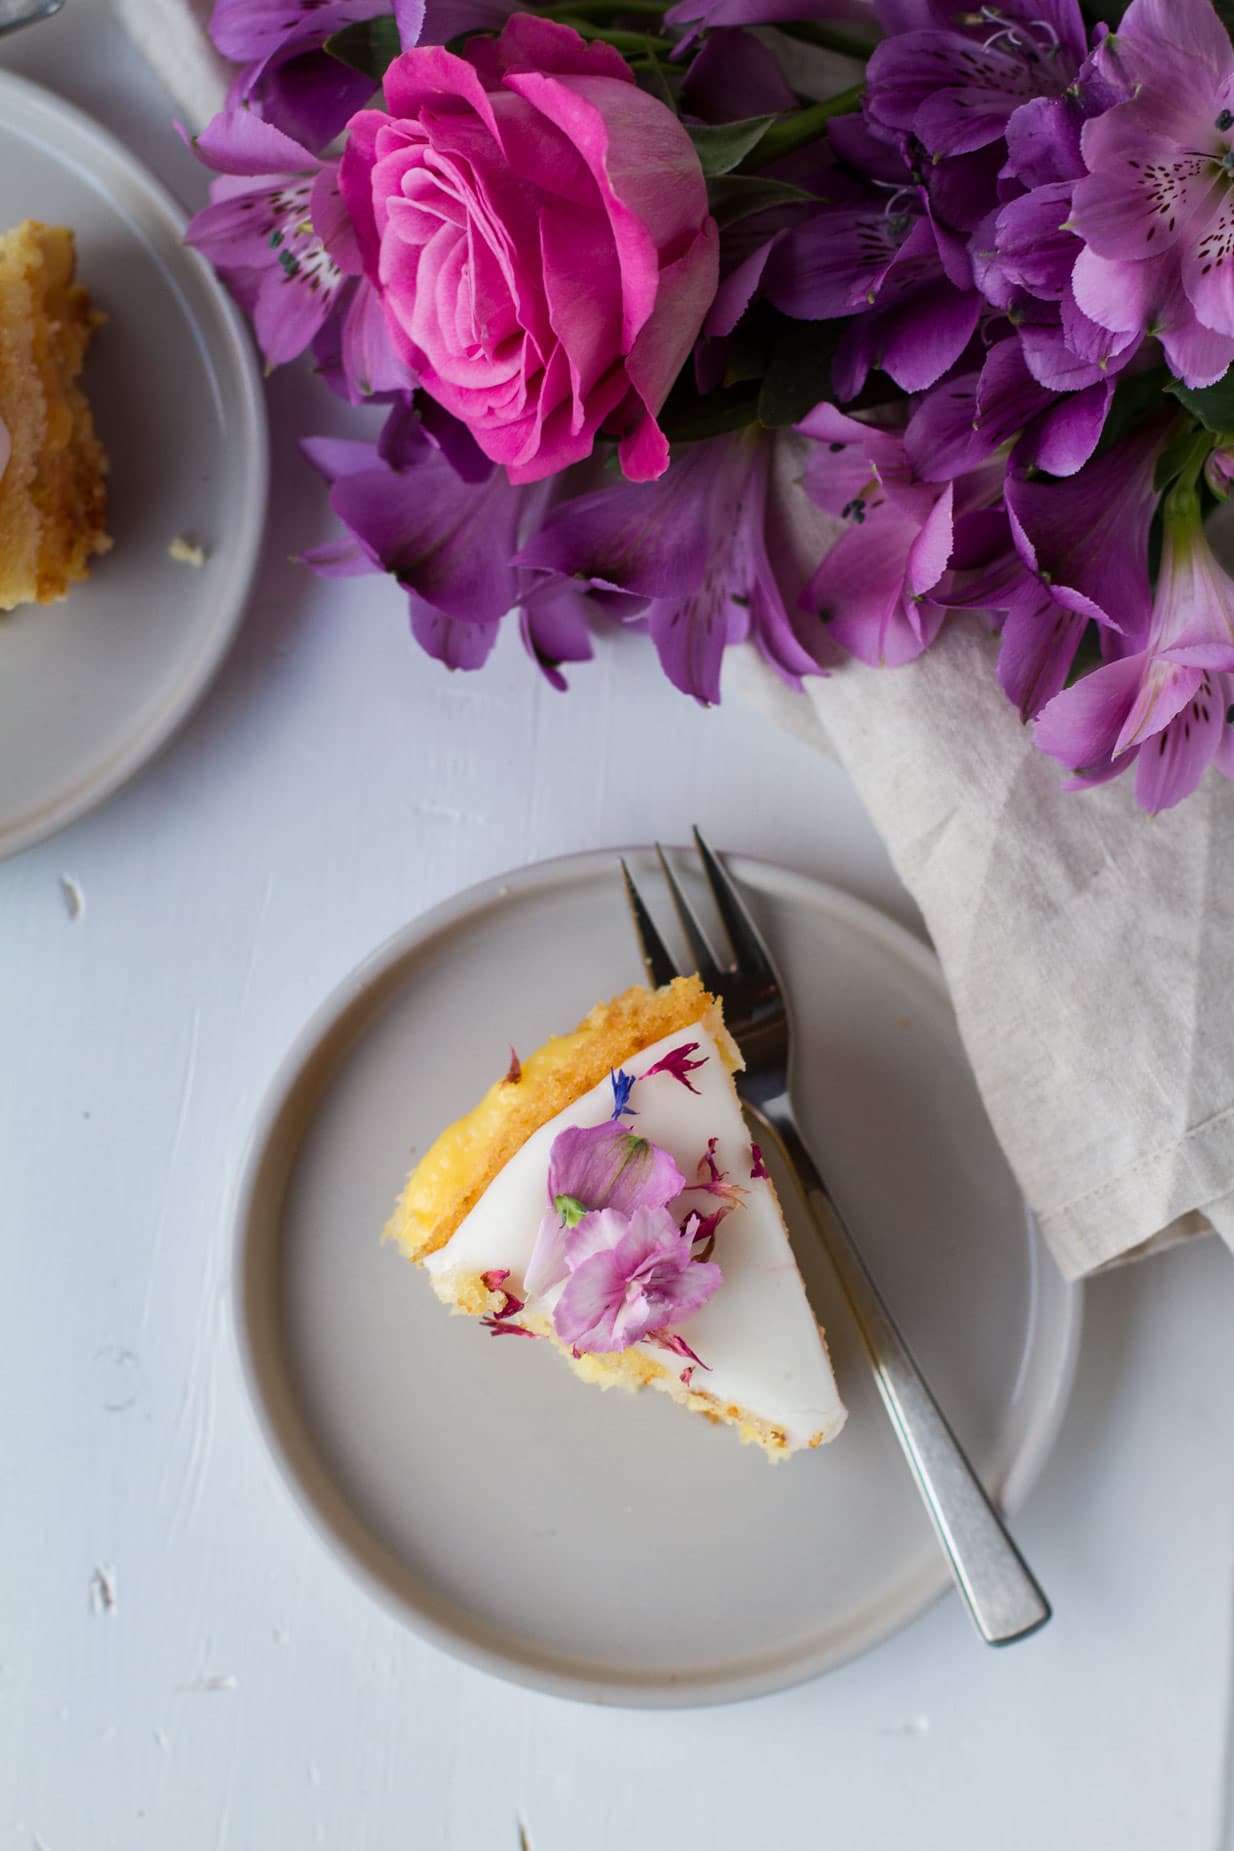
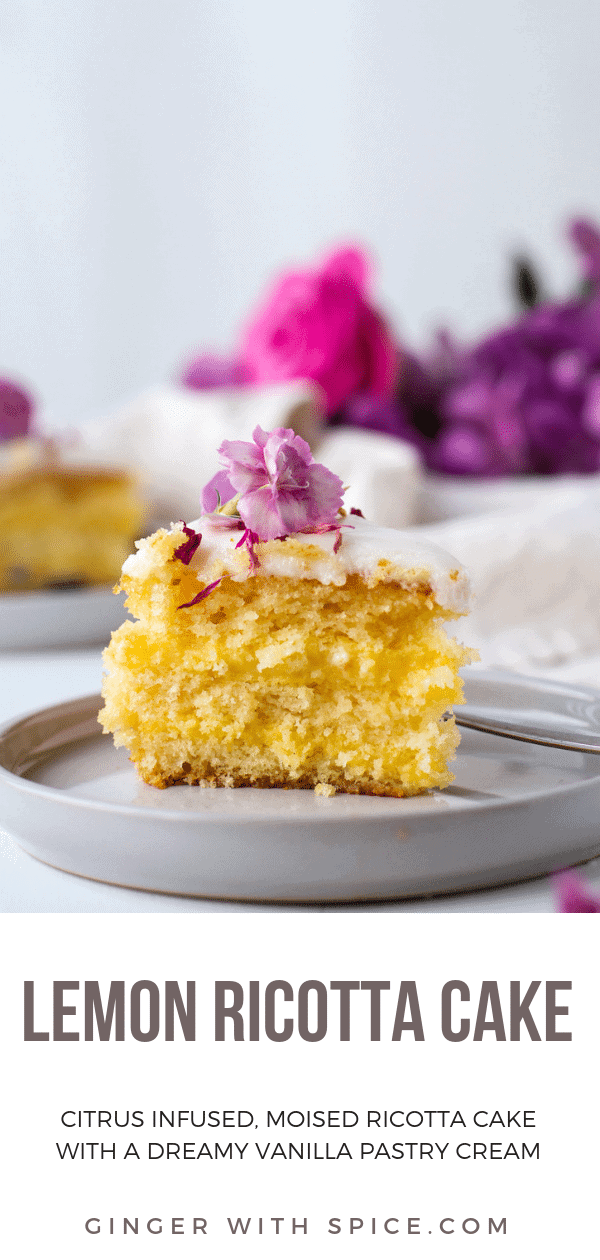
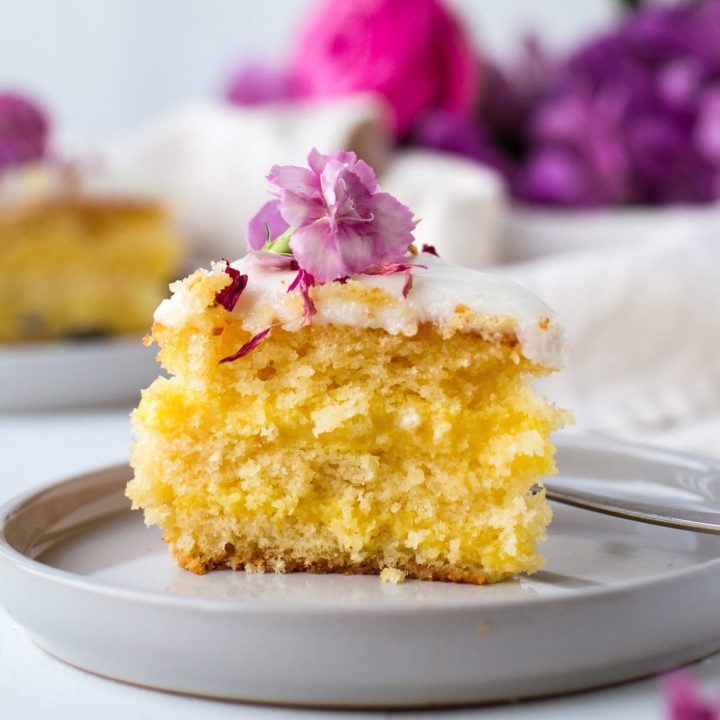
Lemon Ricotta Cake with Dreamy Vanilla Pastry Cream is a match made in heaven. Citrus infused, moist and delicious ricotta cake and the creamiest vanilla pastry - you just can't go wrong! This cake is simple and lets the lemon and vanilla really shine.
So January 31st is my birthday, and I wanted this week's recipe to reflect that. And because the greatest cake in the world actually is a family secret (so sorry!), this is the closest I could get without telling the other recipe.
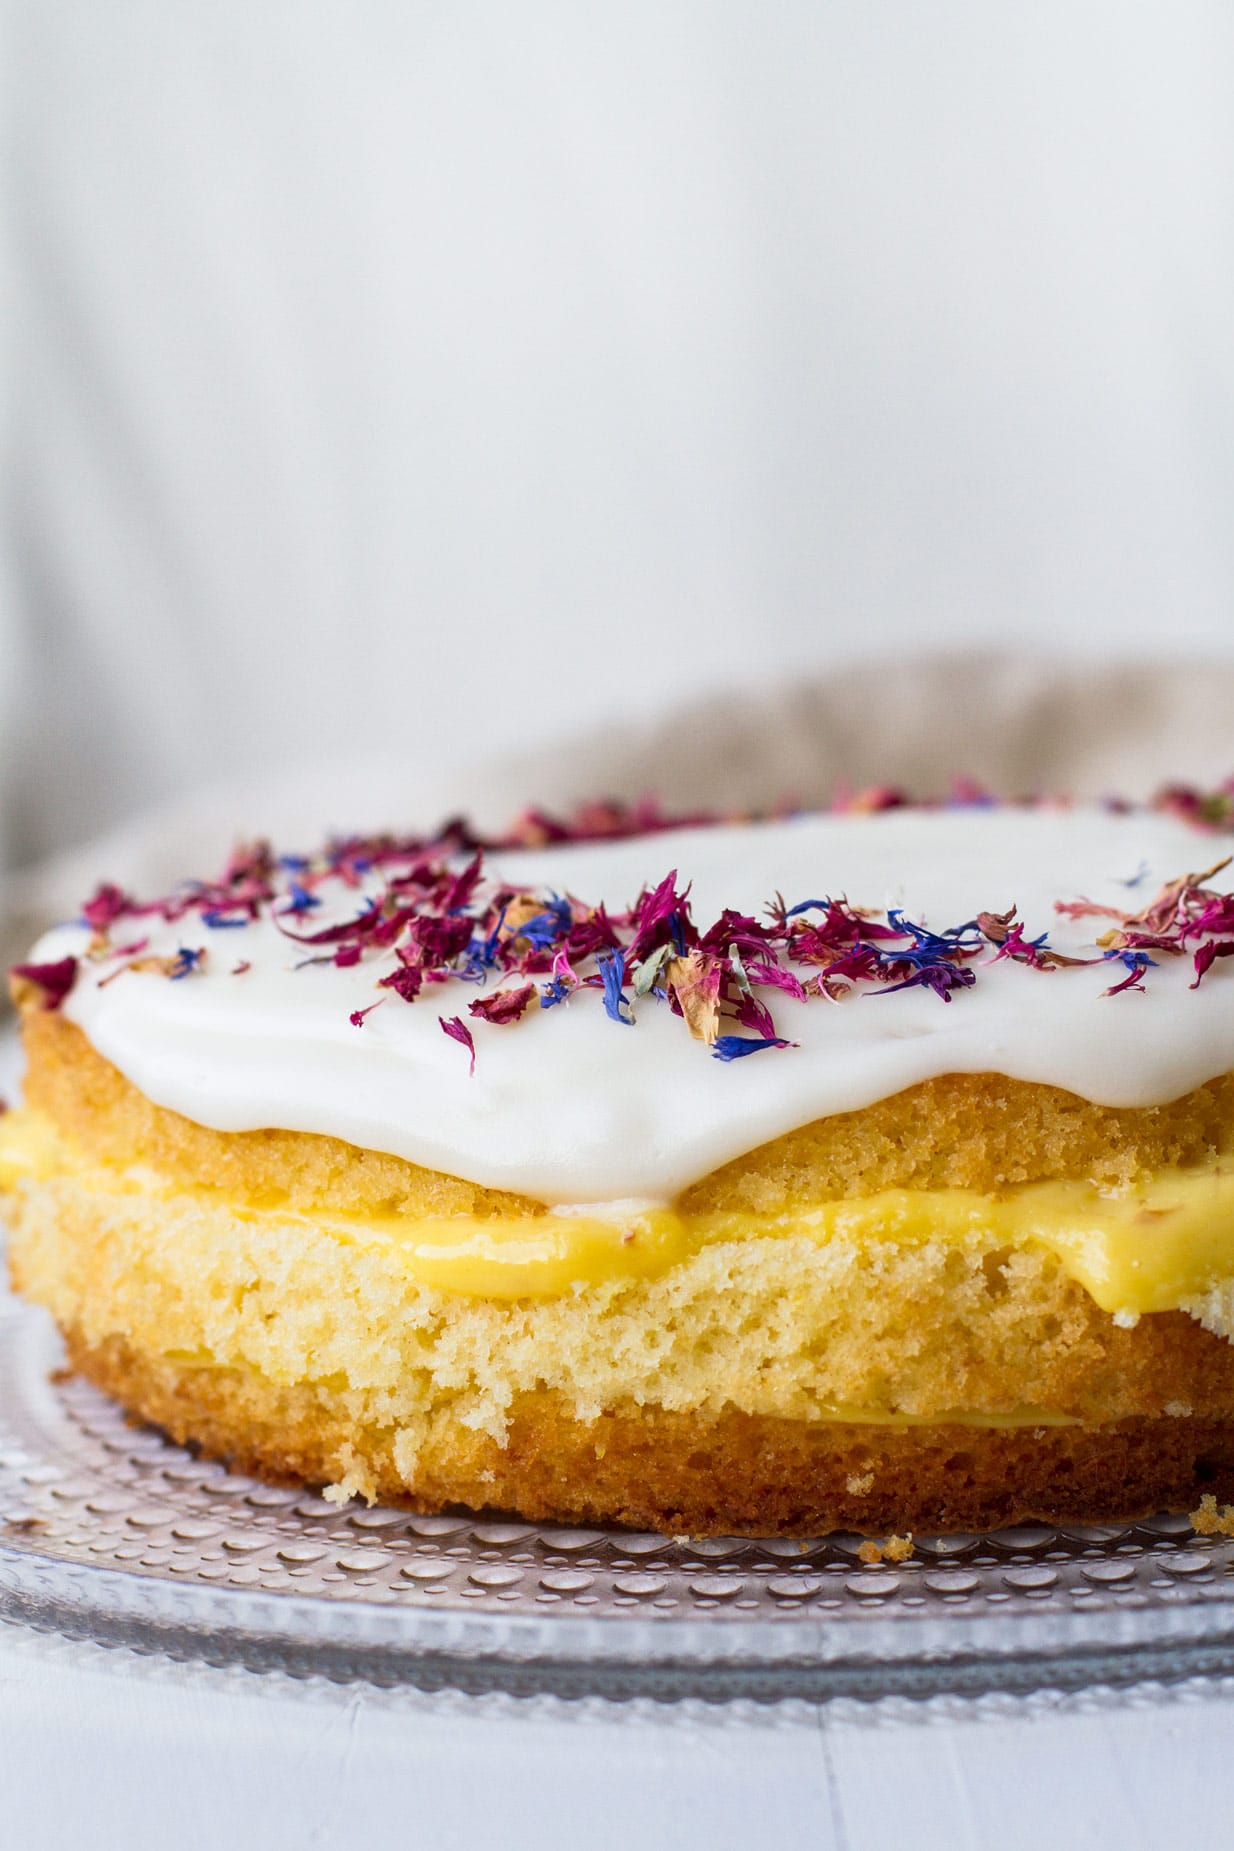
And let me tell you - it is amazing! I've used this sponge cake in countless cakes, with just minor tweaks, because it works like a charm. It's also easy to just double and make a gigantic cake. I promise you, it looks like a lot, but it's gone in a flash!
Another cake that is super popular to make for birthday parties, is this chocolate sheet cake. Top it with whatever fun toppings to make it a perfect kids' party cake, or add more Baileys and it's an adults' party cake. Or do both, at the same time, I'm not judging.
Lemon Ricotta Cake
Preheat your oven to 150C (300F). Grease a round 9 inch (23 cm) cake pan. In a medium bowl, whisk together ricotta, lemon juice and zest, vegetable oil and vanilla extract until a creamy consistency. You can whisk this by hand.
In another bowl, whisk together (hand or stand mixer) eggs and sugar, on medium high speed for about 7 minutes. Add the ricotta mixture into the eggs and whip until just incorporated.
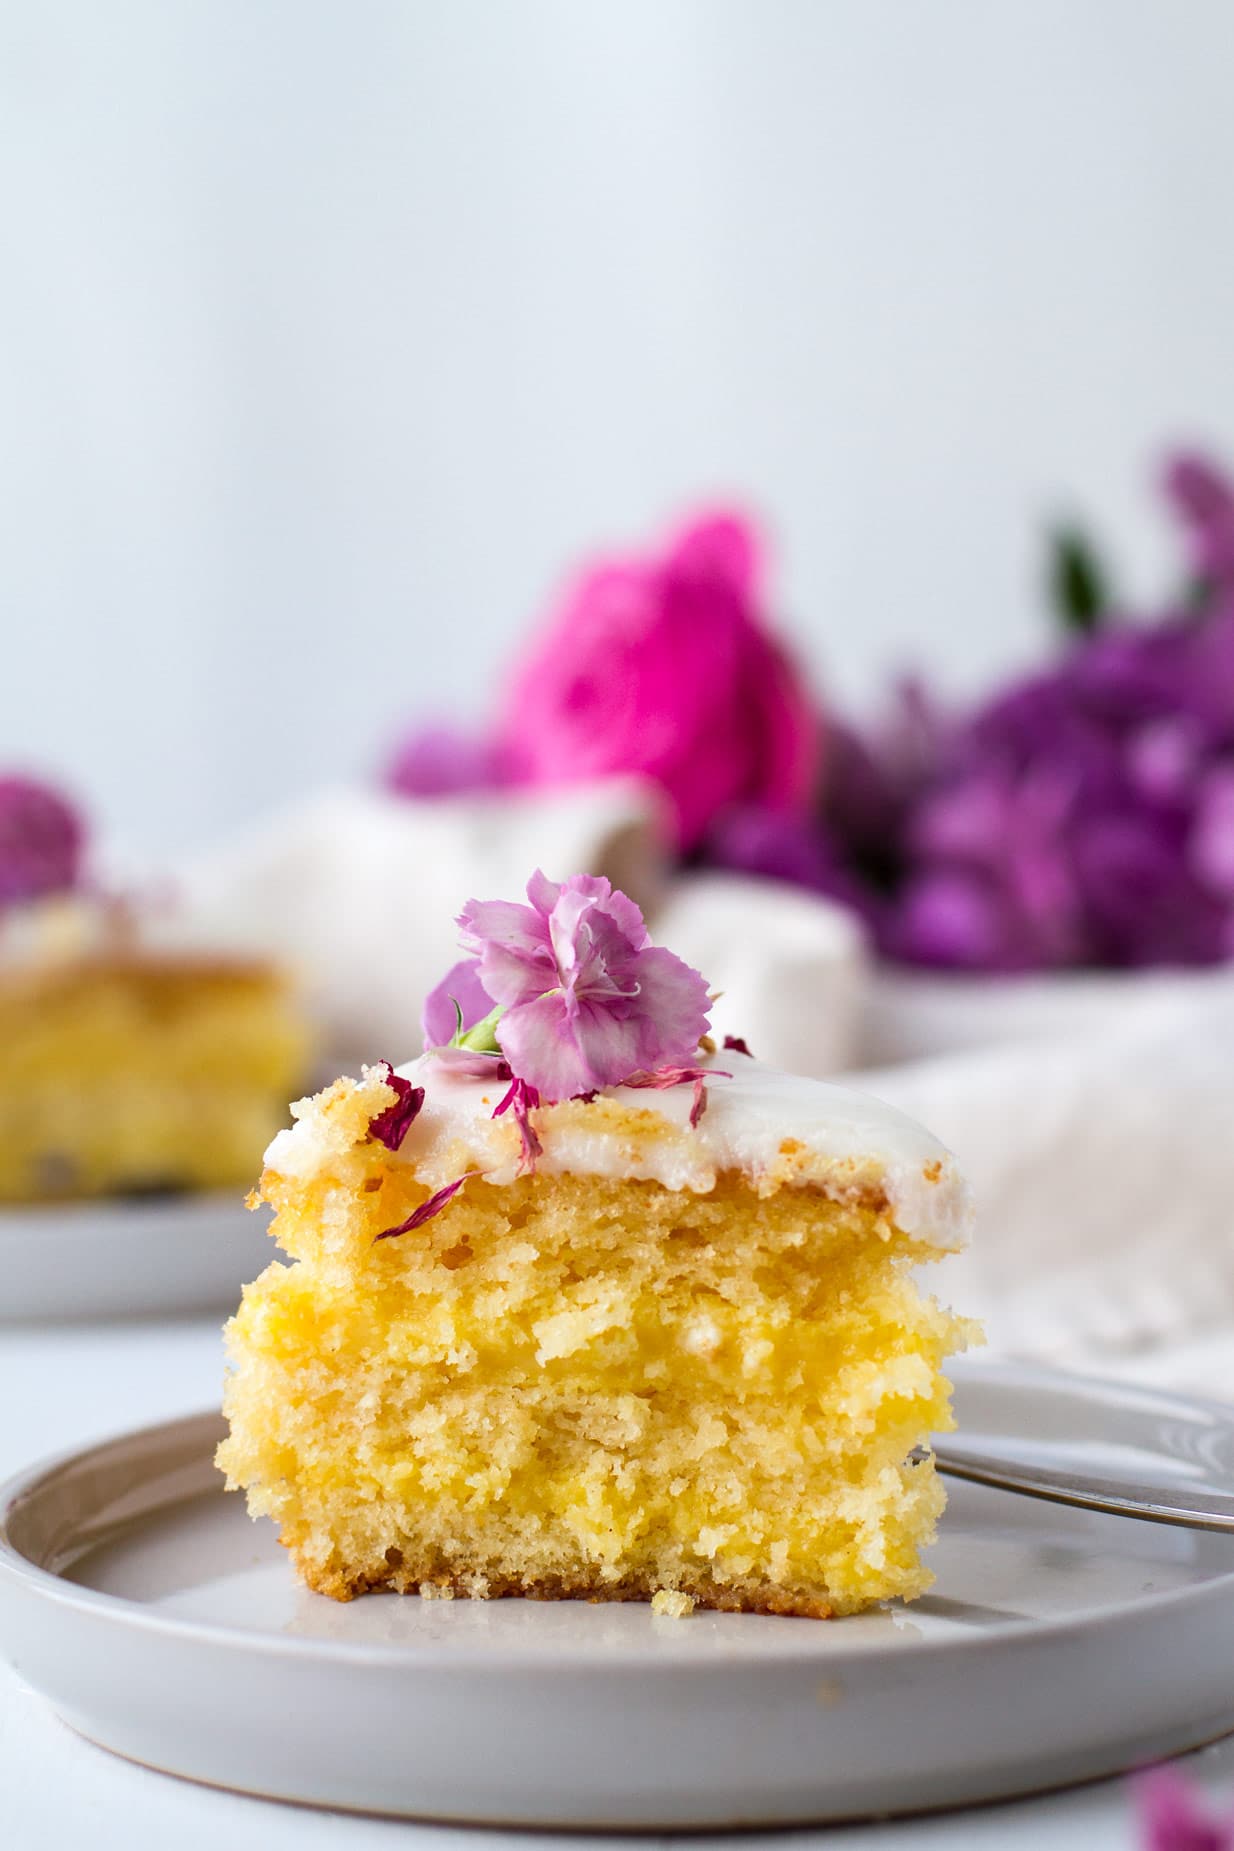
We want a fluffy lemon ricotta cake, right
Sift flour and baking powder into the batter. Be careful here as to not ruin the bubbles of the egg/sugar mixture. Using a rubber spatula, fold it in and take it in small portions, maybe around 40 grams, then fold, then 40 new grams. This is a boring and tedious task, but it really does wonder for the end result, which makes it massively worth it. The cake was so fluffy!
Bake the cake for around 90 minutes or until a toothpick comes out clean. If the cake starts to brown too quickly, either reduce temperature or add aluminum foil on top. A little browning is fine and even wanted!
Cool the cake completely before you remove it from the pan. Peel off the parchment paper. If your cake is slightly uneven, just cut it to even it out. If not, leave it as is and using a serrated knife, slice the cake horizontally into 3 layers.
How to Make Vanilla Pastry Cream
Pour the milk, half of the heavy cream and half of the sugar into a saucepan. Cut open and scrape out the seeds of the vanilla bean. Place everything into the saucepan. Heat up to the point of boiling, constantly stirring.
In another bowl, whisk together the rest of the heavy cream, egg yolks, cornstarch and the rest of the sugar. Cool the milk mixture a little bit before slowly pouring it into the egg mixture while constantly whisking.
Pour this mixture back into the saucepan, make sure you bring with you the vanilla seeds. Heat the mixture back up, until it is thickening. Remember to stir. Place the saucepan into a tub of cold water to cool, remove the vanilla beans. Cool to lukewarm, but not completely cold.
Another option
If you're Norwegian, or happen to have powder form vanilla sauce, I also have an even easier way of making this vanilla pastry cream. If you follow the vanilla cream option 1 in this Vanilla Custard and Coconut Sweet Buns, it is basically the same as in this cake! The difference is that in this cake it won't be baked afterwards.
And by the way, I super highly definitely recommend trying those sweet buns, because I think those may be my favorite thing in the whole world.
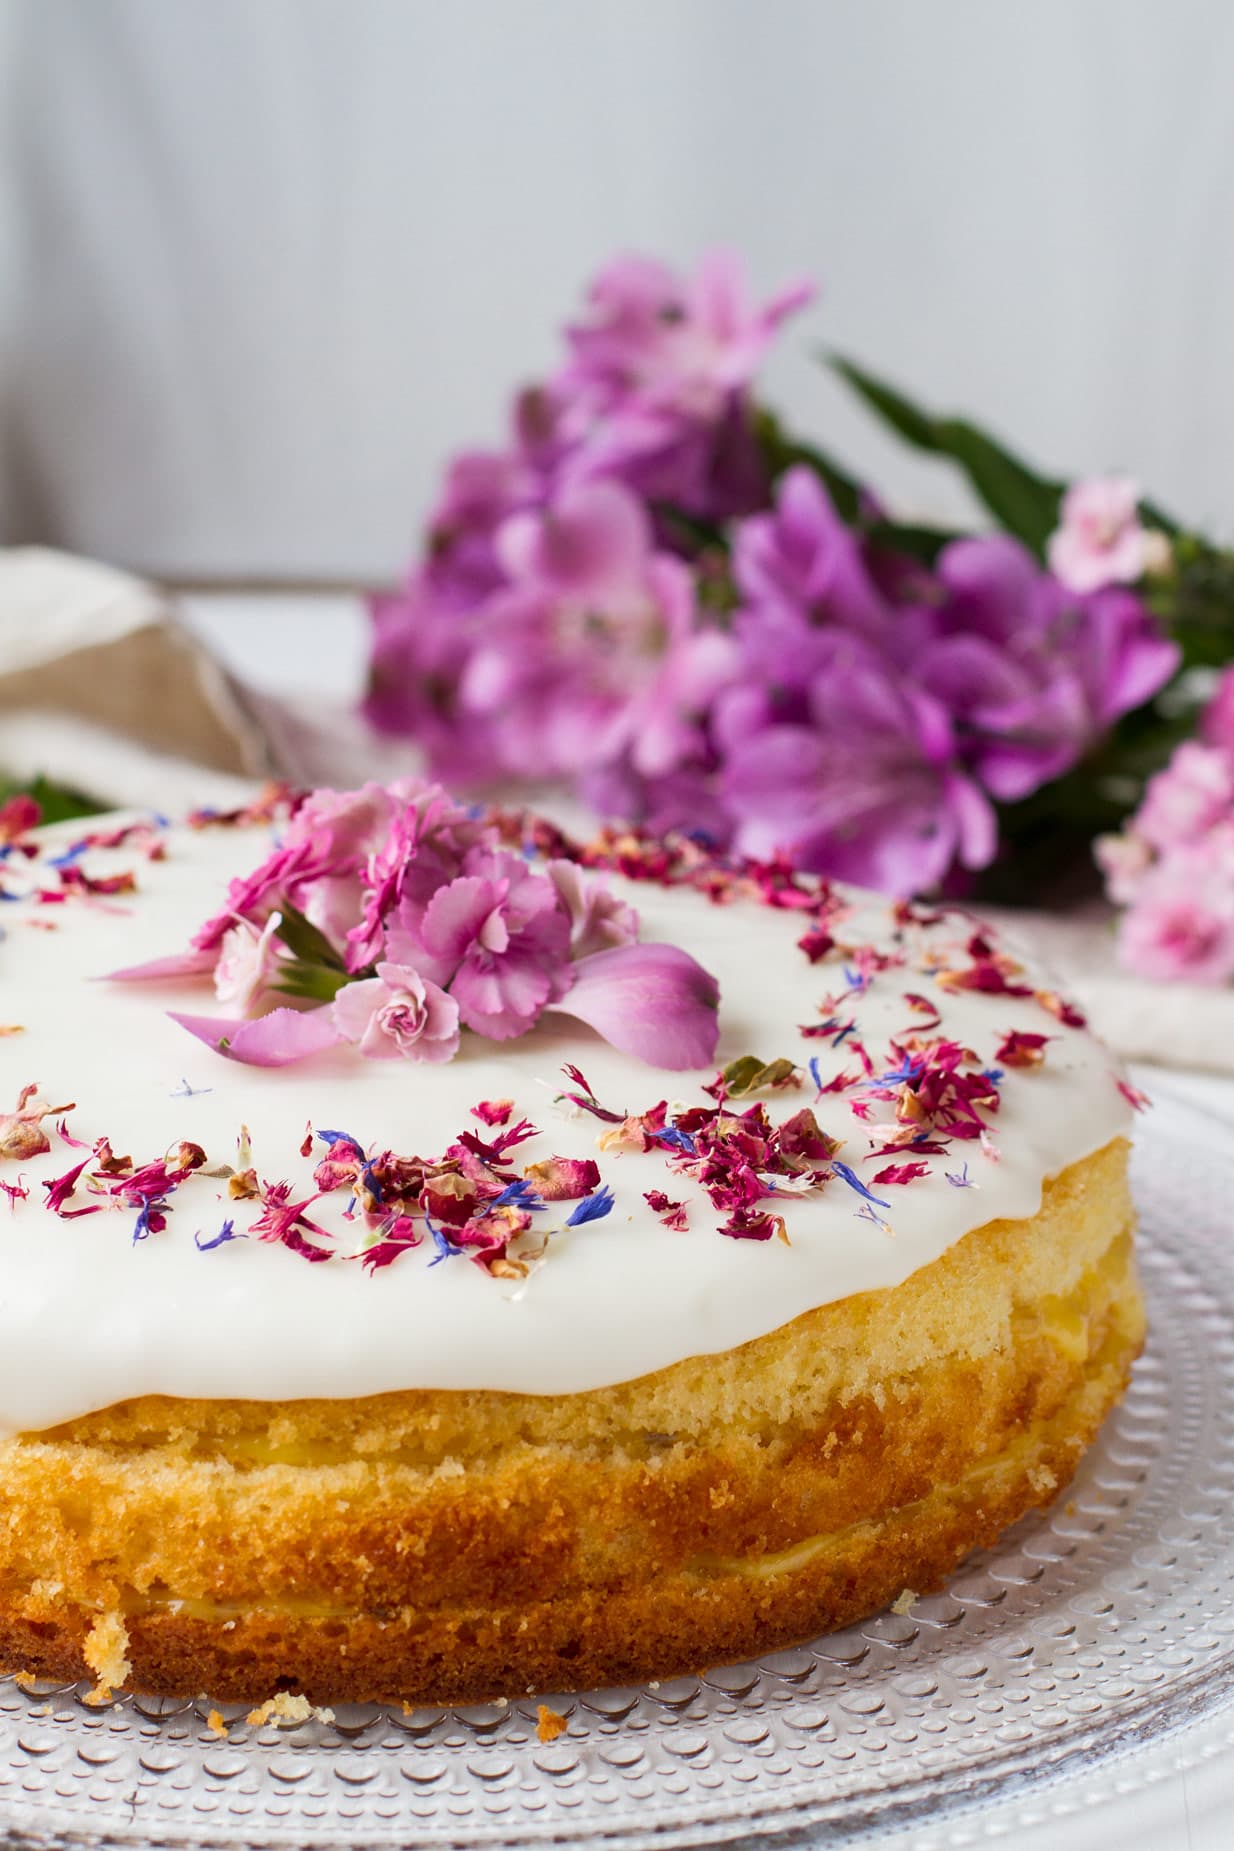
Let's Layer This Cake!
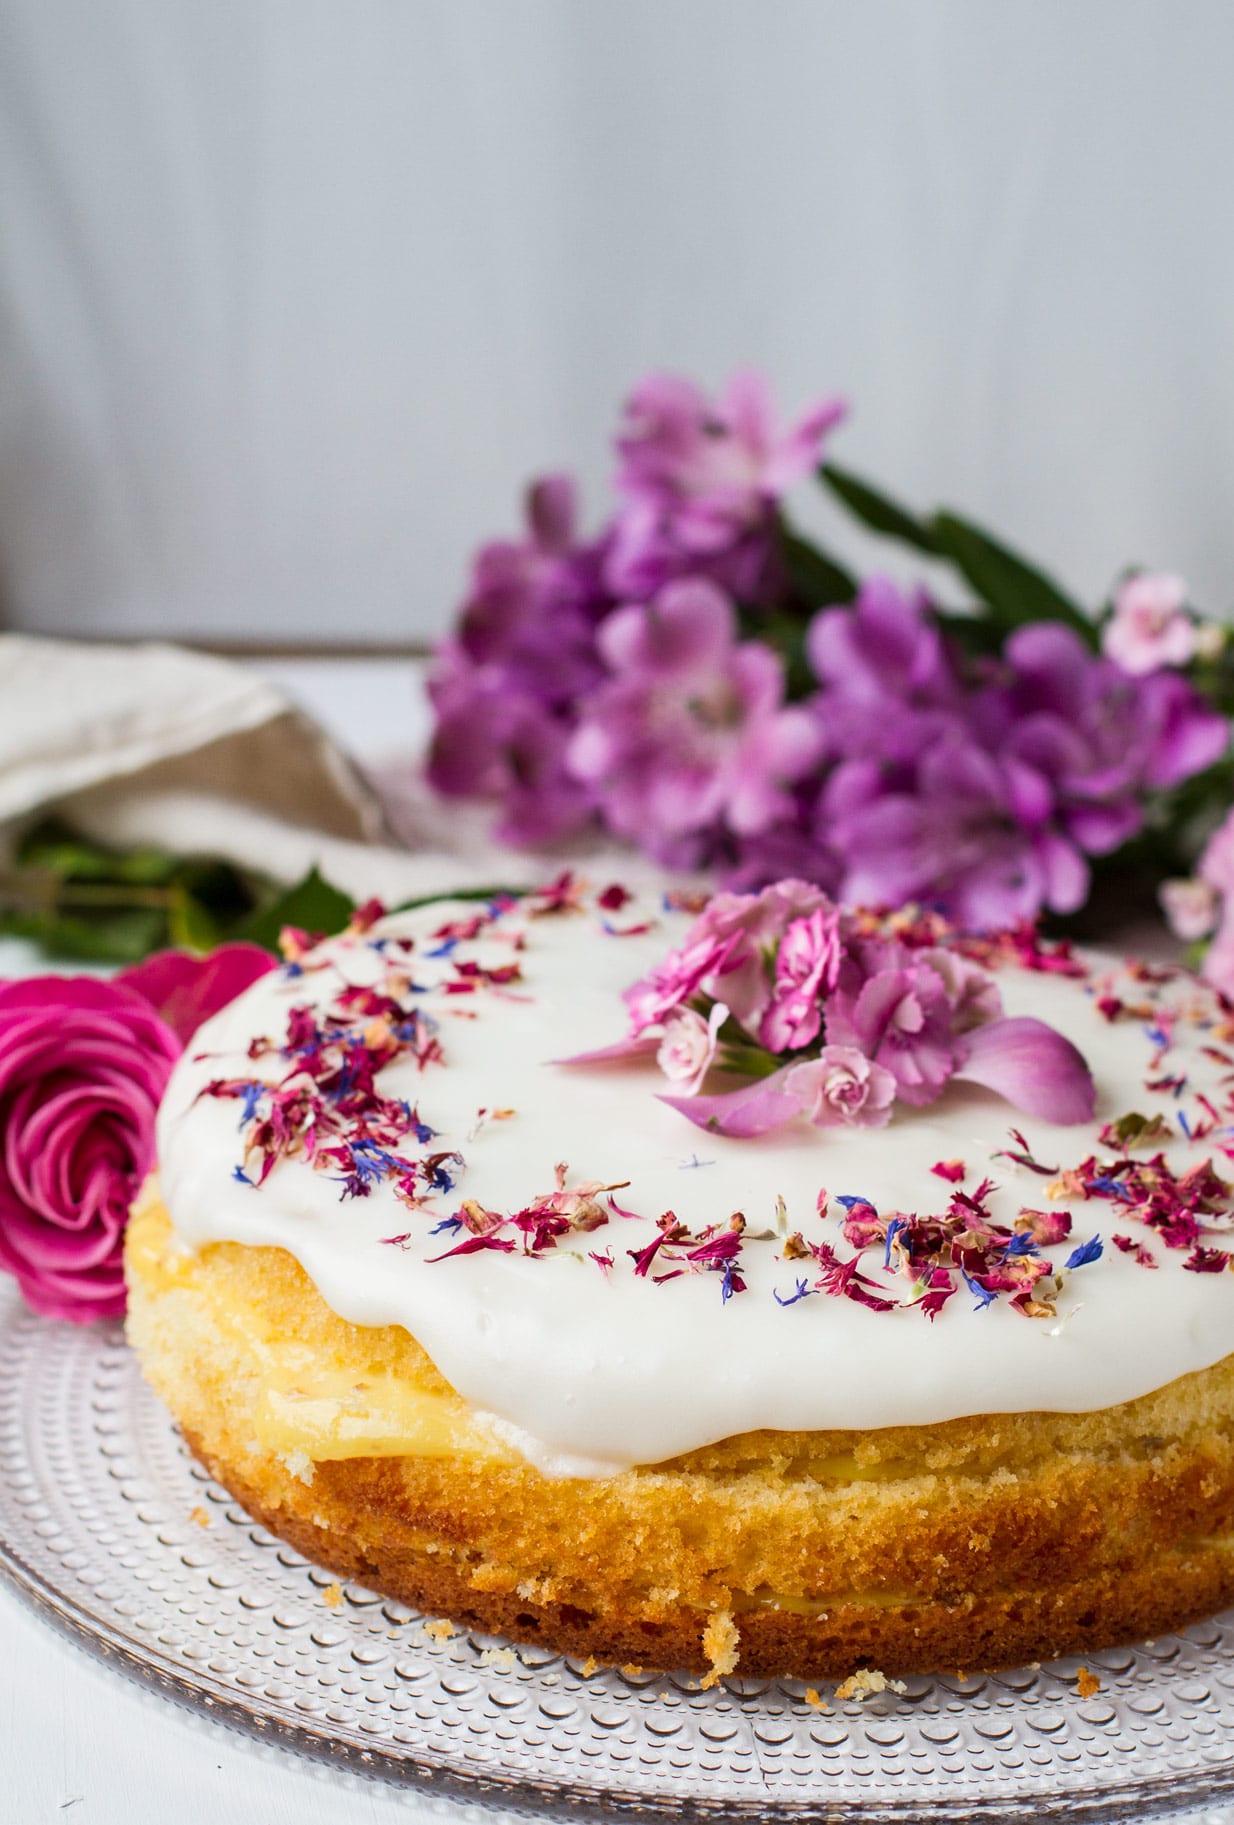
Take the bottom layer of the cake and pour half of the vanilla cream on top, even it out. Add the next cake layer on top and pour the rest of the vanilla cream on top. Take the last cake layer on top of this. Now it's ready for some frosting!
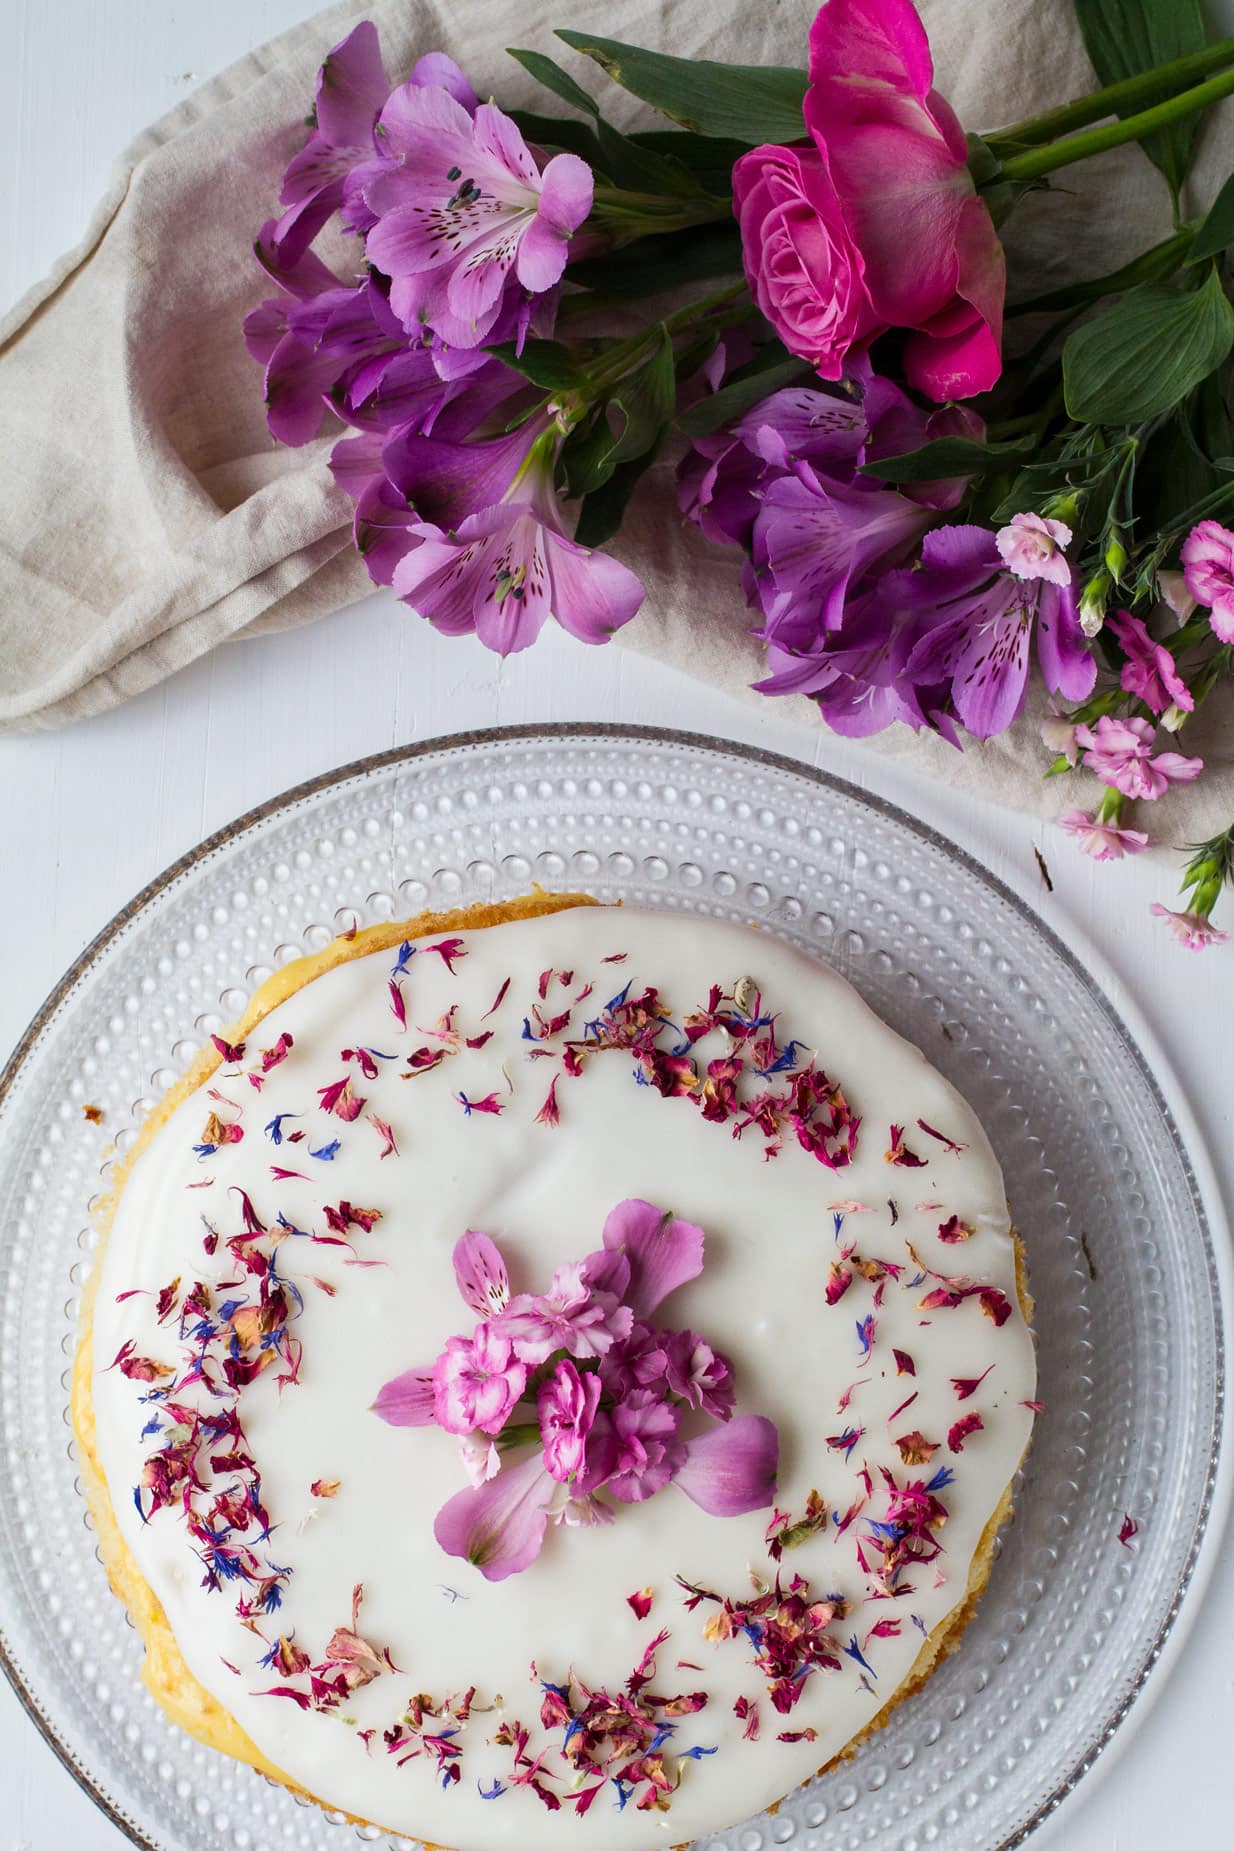
Mix powdered sugar, lemon juice, cream cheese and vanilla bean sugar (or vanilla extract), using a handheld mixer or even by hand. Add it to the top of the cake, leaving the sides naked. You may think the frosting is a little too acidic, but that's the point. It's going to balance the sweetness of the cake, making a dreamy combination!
Decorate if you wish, but it's likely gone before you get to think of any!
This lemon ricotta cake tastes amazing with a glass of milk or a cup of tea. It keeps very well for 4-5 days in the refrigerator, maybe even longer. Could also just store in a cold place if you don't have room in the fridge! Freezes well too.
Celebration Cakes
- Orange Chocolate Layer Cake with Chocolate Buttercream Frosting
- Chocolate Lava Cake with Raspberry Red Currant Sauce
- Tiramisu Cake with White Chocolate Mousse
- Soft Cake with Apricot Jam and Rum Cream (local treat!)
- Simple Apple Pie Cake with Cinnamon Crumb Topping
- Light as Air Carrot Cake Cupcakes
I’d love to hear your thoughts. Comment below or tag me @thegingerwithspice on Instagram. And don’t forget to Pin it for later!
In order to keep the blog up and running this post contains affiliate links, it will be at no extra cost to you, please read the disclosure for more information.
📖 Recipe

Lemon Ricotta Cake with Dreamy Vanilla Pastry Cream
Citrus infused, moist and delicious ricotta cake and the creamiest vanilla pastry - you just can't go wrong!
Ingredients
Lemon Ricotta Cake
- 3 large eggs
- 1 cup sugar, 215 gr
- ½ cup ricotta, 125 gr
- ½ cup vegetable oil, 125 ml
- 1 lemon (juice + zest) 2 tbsp
- ½ teaspoon vanilla extract
- 1 ½ cups flour, 190 gr
- 1 ½ teaspoon baking powder
Vanilla Pastry Cream
- ¾ cup sugar, + 3 tbsp. 120 gr
- 10 oz milk, 300 ml
- 6.7 oz heavy cream, 200 ml
- 1 vanilla bean, or 3 teaspoon vanilla extract
- 4 egg yolks
- 1 teaspoon cornstarch
Lemon Cream Cheese Frosting
- 2 cups powdered sugar, 200 gr
- 2 teaspoon lemon juice
- 4 oz cream cheese
- 2 teaspoon vanilla bean sugar, or ½ teaspoon vanilla extract
Instructions
Lemon Ricotta Cake
- Preheat your oven to 300F (150C). Grease a round 9 inch (22 cm) cake pan and add parchment paper to the bottom.
- In a medium bowl, whisk together ricotta, lemon juice and zest, vegetable oil and vanilla extract until a creamy consistency. You can whisk this by hand, but a hand mixer is less of a workout.
- In another bowl, whisk together (hand or stand mixer) eggs and sugar, on medium high speed for about 7 minutes. Add the ricotta mixture into the eggs and whip until just incorporated.
- Sift flour and baking powder into the batter. Be careful here as to not ruin the bubbles of the egg-sugar mixture. Using a rubber spatula, fold it in and take it in small portions, maybe around 40 grams, then fold, then 40 new grams.
- Bake the cake for around 90 minutes or until a toothpick comes out clean. If the cake starts to brown too quickly, either reduce temperature or add aluminum foil on top. A little browning is fine! Cool the cake completely before you remove it from the pan. Peel off the parchment paper.
- If your cake is slightly uneven, just cut it to even it out. If not, leave it as is and using a serrated knife, slice the cake horizontally into 3 layers.
Vanilla Pastry Cream
- Pour the milk, half of the heavy cream and half of the sugar into a saucepan. Cut open and scrape out the seeds of the vanilla bean. Place everything into the saucepan. Heat up to the point of boiling, constantly stirring.
- In another bowl, whisk together the rest of the heavy cream, egg yolks, cornstarch and the rest of the sugar. Cool the milk mixture a little bit (3-5 min) before slowly pouring it into the egg mixture while constantly whisking.
- Pour this mixture back into the saucepan, make sure you bring with you the vanilla seeds. Heat the mixture back up, until it is thickening. Remember to stir. Place the saucepan into a tub of cold water to cool, remove the vanilla beans. Cool to lukewarm.
Layer the Cake
- Take the bottom layer of the cake and pour half of the vanilla cream on top, even it out. Add the next cake layer on top and pour the rest of the vanilla cream on top. Take the last cake layer on top of this. Now it's ready for some frosting!
- Mix powdered sugar, lemon juice, cream cheese and vanilla bean sugar (or vanilla extract), using a handheld mixer or even by hand. Add it to the top of the cake, leaving the sides naked.
- Decorate if you wish. It keeps very well for 4-5 days in the refrigerator. Could also just store in a cold place if you don't have room in the fridge!
Nutrition Information:
Yield: 20 Serving Size: 1 sliceAmount Per Serving: Calories: 287Total Fat: 13.8gSaturated Fat: 5.7gCholesterol: 93mgSodium: 49mgCarbohydrates: 38.2gFiber: 0.3gSugar: 29.5gProtein: 4.3g
Christopher Pires
Saturday 23rd of February 2019
Hi there... just about to embark on making this cake, one question 90 minutes baking time?
Stine Mari | Ginger with Spice
Sunday 24th of February 2019
Hey Christopher. That is right. You can check it after 80 minutes with a toothpick, but it should be around 90 minutes. This is because it is a fairly large cake on low temperature. It will be a moist, fluffy cake with a little brown exterior, as you may see on some of the pictures.
Stephanie
Monday 4th of February 2019
This looks so delicious - and your photos are gorgeous! I can just imagine biting into this cake! It looks so springy, too!
Stine Mari | Ginger with Spice
Tuesday 5th of February 2019
Thank you so much, Stephanie! Folding the flour into the batter makes it very airy!
Krista Price
Monday 4th of February 2019
Wow, this cake is stunning ...but most importantly, HAPPY BELATED BIRTHDAY! :) You really treated yourself with this masterpiece.
Stine Mari | Ginger with Spice
Monday 4th of February 2019
Thank you so much, Krista!
Lathiya
Monday 4th of February 2019
The cake looks awesome..so crumbly and spongy..can I replace ricotta? If yes,what will be the perfect substitute...
Stine Mari | Ginger with Spice
Monday 4th of February 2019
Thank you so much, Lathiya! Yes, you can substitute ricotta with Greek/Turkish yoghurt or sour cream. Cream cheese could also work. Hope this helps! :)
Mimi
Monday 4th of February 2019
I am super excited about your recipe because that vanilla pastry looks so creamy - literally the best pastry you can get for this cake!
Stine Mari | Ginger with Spice
Monday 4th of February 2019
Thank you so much, dear Mimi!